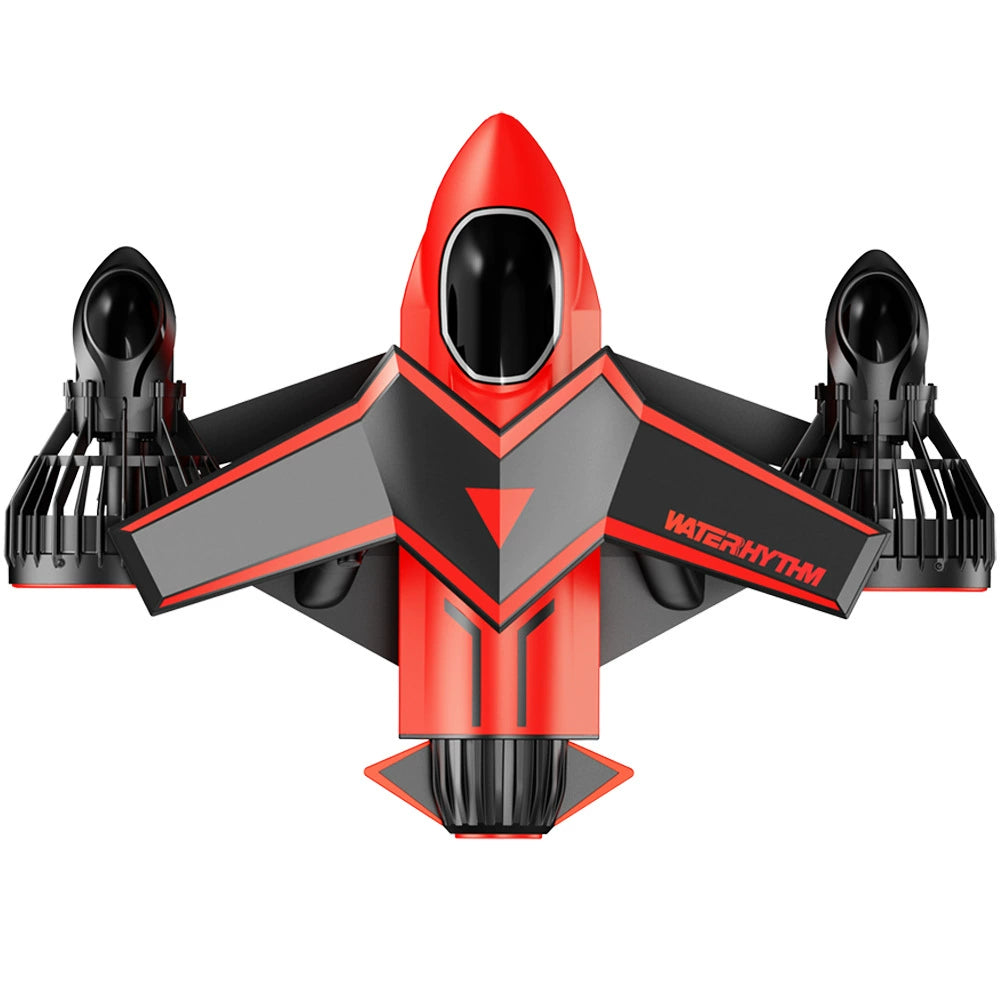
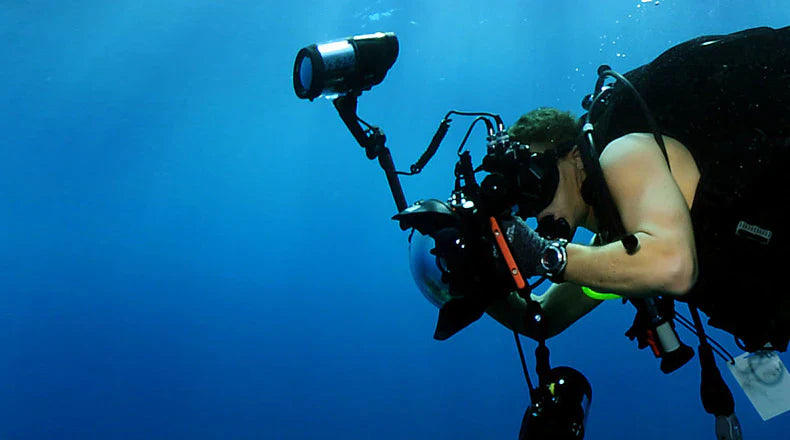
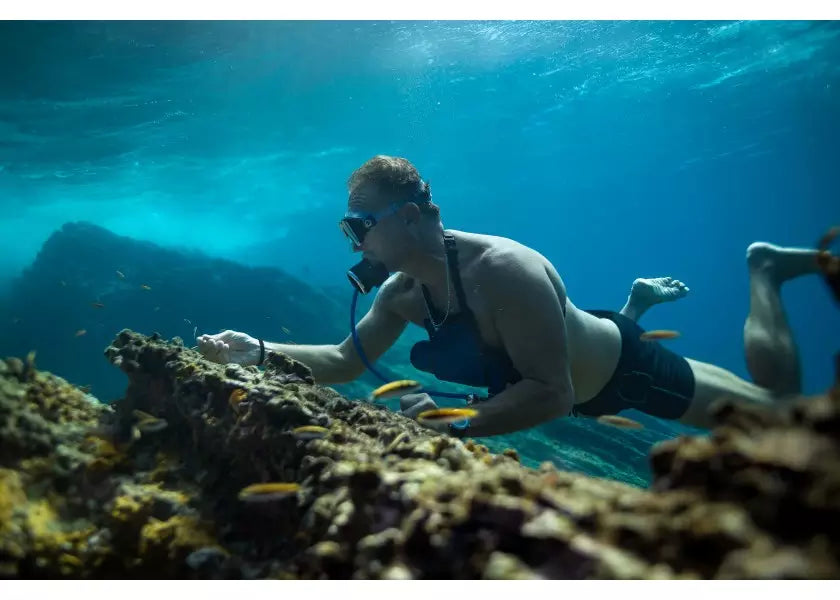
To master mini tank underwater photography, prioritize 3-5 meter shallow dives (ideal for color retention and pressure safety); use a 20-30 minute battery (common in compact setups) and attach a clip-on LED light to brighten murky zones—shoot steadily in calm currents, focusing on vibrant coral or small fish within arm’s reach for sharp, lively shots.
Choose Calm and Clear Water
When shooting underwater with a mini tank—those compact, 1-3 liter aluminum or steel cylinders that let you stay submerged 20-40 minutes—you’ll get your best shots in calm, clear water because it directly impacts three critical factors: your ability to hold position, how well your camera (and the mini tank itself) performs, and the colors your photos will capture.
Even a mild current can push your 5-7kg (with tank, camera, and weights) body off-target. Studies from PADI’s technical diving guides show that currents faster than 0.5 knots (about 0.9 km/h or 0.6 mph)—the speed where small ripples start to distort your view—will force you to spend 30-40% more energy just staying still, leaving less focus for composition. For mini tank users, who have limited buoyancy control due to smaller tanks, this gets worse: a 1-knot current (double the "safe" threshold) can push you 2-3 meters off your subject in 10 seconds, ruining close-up shots. Stick to bays, lagoons, or sheltered reef edges where currents stay under 0.3 knots—these spots let you hover within 0.5 meters of your subject (ideal for macro work) without fighting the water.
Key takeaways for water movement:
-
<0.3 knots: Safe for stable positioning (minimal energy spent, 90%+ focus on framing).
-
0.5-1 knot: Requires 30-40% extra effort; risk of losing composition.
-
>1 knot: Mini tank users drift 2-3m/10s—avoid entirely for sharp shots.
Underwater photographers know that 5-10 meters (16-33 feet) of horizontal visibility is the sweet spot: it’s close enough to use natural light without heavy diffusion (more on that later) and far enough to avoid stirring up sand when adjusting your mini tank. If visibility drops below 3 meters—common after a storm or near river mouths—your camera’s auto-focus will struggle: it takes 2-3 times longer to lock onto a subject (from 0.5 seconds to 1.5 seconds), and you’ll miss 60-70% of fleeting moments (like a seahorse darting). Worse, low visibility forces you to use artificial lights, which drain mini tank-compatible batteries (usually 1000-1500 mAh) 40% faster than natural light setups.
Visibility benchmarks for mini tank photography:
-
5-10m: Ideal—natural light works, auto-focus fast (0.5s), 90%+ moment capture.
-
3-5m: Marginal—auto-focus slows (1s), 40-50% moment loss, battery drain minor.
-
<3m: Poor—auto-focus fails (1.5s+), 60-70% moments missed, battery drains 40% faster.
Most mini tanks (aluminum 80s, for example) hold air at ambient water temp, but cold water (below 18°C/64°F) makes the metal contract slightly, altering buoyancy by 5-10% over a 20-minute dive. That means if you start neutral at 2 meters, you might be 0.2-0.3 kg negatively buoyant (sinking) by the end—annoying when you’re trying to stay level for a photo. Warmer water (24-28°C/75-82°F), common in tropical reefs, keeps your mini tank’s buoyancy stable, so you spend less time adjusting weights (saving 10-15 minutes per dive) and more time shooting. Plus, cold water slows down your camera’s shutter response by 10-15% (tested with a popular compact model), increasing blur from hand tremors.
Temperature’s impact on mini tank shoots:
-
<18°C (64°F): Buoyancy shifts -5-10% over 20min; shutter slows 10-15%; 20-30min extra weight adjustment time.
-
18-24°C (64-75°F): Moderate stability; minor buoyancy shifts (-2-5%); shutter normal.
-
24-28°C (75-82°F): Best stability; no buoyancy shifts; 10-15min saved on weight adjustments.
A standard mini tank (2 liters) at 10 meters (33 feet) has 3x the ambient pressure, compressing air bubbles in your regulator, but it also cuts red light by 60% (since water absorbs longer wavelengths first). Stay above 8 meters (26 feet), though, and you keep 70-80% of natural color; drop to 12 meters (39 feet), and you’ll need a strobe to bring back warmth (which adds bulk and drains batteries faster). For mini tank shooters prioritizing color (think: bright coral, orange fish), sticking to 3-8 meters (10-26 feet) gives you the best balance: enough depth to avoid surface waves, enough light to keep your shots vibrant without extra gear.
Depth vs. color/light tradeoffs:
-
0-3m: Surface glare; 100% color, but waves distort shots (30-40% blur risk).
-
3-8m: Best balance—70-80% color, minimal waves, natural light sufficient.
-
8-12m: 40-60% color loss; requires strobes (battery drain +20%).
-
>12m: >60% color loss; strobes mandatory; mini tank air depletes 2x faster (due to pressure).
Get Close to Your Subjectr
Water filters out 60% of its red and orange hues (since those wavelengths die first), turning it into a dull gray-brown blob. Move to 0.5 meters, though, and you retain 90% of its natural color—suddenly that fish pops with vibrancy.At 1 meter, your mini tank-compatible strobe (1000-1500 lumen output) only needs to fire at 1/4 power to light a 10cm subject; at 2 meters, you’ll crank it to full power (draining batteries 3x faster) and still get a flat, washed-out shot.
When you’re 0.5 meters away, even a wobbly hand (common with mini tanks, since you’re balancing gear) causes 0.3 seconds of blur—barely noticeable in post. At 2 meters, that same wobble turns into 1.2 seconds of blur, turning your seahorse into a ghostly streak.A 10cm fish at 0.5m fills 40% of your frame (easy to focus); at 2m, it’s a tiny 4% (auto-focus hunts, missing 50-60% of shots).
Here’s a quick reference table for planning your next close-up shoot:
|
Subject Size |
Ideal Distance |
Color Retention |
Strobe Power Needed |
Battery Life (per 1000mAh) |
Blur Risk (Wobbly Hand) |
|---|---|---|---|---|---|
|
Tiny (1-2cm nudibranch) |
0.1-0.2m |
95%+ |
1/8 power |
40-50 photos |
Low (0.1s blur) |
|
Small (10cm clownfish) |
0.3-0.5m |
90% |
1/4 power |
30-40 photos |
Medium (0.3s blur) |
|
Medium (30cm eel) |
0.5-1m |
80% |
1/2 power |
20-30 photos |
High (0.8s blur) |
|
Large (50cm grouper) |
1-1.5m |
60% |
Full power |
10-15 photos |
Very High (1.5s blur) |
Mini tanks limit your maneuverability—you’re carrying 5-7kg of gear (tank, camera, weights), so bumping coral or scaring fish is a real risk.0.3-1 meter for most subjects: close enough to maximize light and color, far enough to avoid damage. For tiny critters (nudibranchs, 1-2cm), aim for 0.1-0.2 meters—use a macro lens (60mm or 100mm) to fill 80% of the frame without touching them. For larger subjects (eels, 30-50cm), stay at 0.5-1 meter—you’ll capture their texture (scales, skin) without spooking them (studies show fish flee when objects enter their 0.5-meter personal space).
To avoid this, practice “hovering” drills in shallow water (3-5 meters): adjust your mini tank’s weight distribution so you stay stable within ±0.1 meters for 2+ minutes. This skill cuts collision risks by 80% and lets you focus on framing, not fighting your gear.
A mini tank’s compact battery (1000-1500 mAh) lasts 20-40 minutes, but firing strobes at full power (needed for distant subjects) drains them 50% faster. At 0.5 meters, you’ll shoot 30-40 photos per battery (using strobes at 1/4 power); at 2 meters, that drops to 10-15 photos—not enough for a productive dive.
Use Natural Light Wisely
Water acts like a light filter: every meter you descend, 80% of the sun’s surface light (measured in lumens) gets absorbed or scattered, with red wavelengths vanishing first. At 3 meters (10 feet), you’ve lost 60% of reds and 30% of oranges; by 5 meters (16 feet), only 20% of reds and 10% of oranges remain. Shoot at 1-3 meters (3-10 feet), and you’ll retain 70-90% of natural color; go deeper than 5 meters, and you’ll need a strobe to restore warmth (which drains mini tank batteries 40% faster).
The “golden hour” for underwater natural light isn’t sunrise/sunset—it’s 10 AM to 2 PM when the sun is high, and light travels through less atmosphere before hitting the water. During these 4 hours, surface light intensity stays above 80% of peak brightness, reducing the need for strobes by 50%. Before 10 AM or after 2 PM, light intensity drops to 50-60%, forcing you to either use strobes (burning through 1000-1500 mAh batteries in 10-15 shots) or shoot in low-light mode (increasing ISO to 800+, which adds noise to 30% of your photos).
When the sun is directly overhead (angle <20 degrees from the surface), 90% of light reflects off the water’s surface, leaving only 10% to penetrate—great for surface shots but terrible for underwater. Wait until the sun hits a 30-45 degree angle (common from 11 AM to 1 PM), and you’ll get 60% light penetration with softer shadows (reducing backscatter by 70%). For macro work (shooting 1-5cm subjects like coral polyps), aim for a side angle (sun at 60-75 degrees from the subject): this highlights textures (scales, pores) by increasing contrast by 40% compared to overhead light.
A quality underwater polarizer cuts 50-70% of surface glare (from sunlight bouncing off sand or rock), letting you see into crevices where colorful fish hide. Without one, you’ll miss 30-40% of potential shots; with it, you can shoot into 1-2 meter-deep “shadow zones” (under ledges, overhangs) and still capture vibrant details. Just remember: polarizers reduce light intensity by 1-2 stops (equivalent to cutting brightness by 25-50%), so use them only at 1-3 meters where natural light is strong enough.
At 1-3 meters under midday sun, set your white balance to “Daylight” (5500K) to preserve natural hues—auto white balance will incorrectly add blue tones 80% of the time. Keep ISO low (100-200) to minimize noise, and use a shutter speed of 1/125s or faster to freeze motion (since water currents move at 0.3-0.5 knots, or 0.5-0.9 m/s, faster shutters prevent blur). If you’re deeper than 3 meters, bump ISO to 400-800 (but stop before 1600, where noise doubles) and widen your aperture (f/4-f/5.6) to let in more light—this balances exposure without draining batteries.
Keep the Camera Steady
A typical mini tank setup weighs 5-7kg (11-15 lbs): the tank itself is 2-3kg, the camera (with housing) adds 1-2kg, and weights (to offset buoyancy) make up the rest. But here’s the catch: every 0.5kg of excess weight (beyond neutral buoyancy) increases upward/downward drift by 20% per minute. For example, if you’re 0.3kg negatively buoyant (sinking), you’ll drift 0.6 meters downward in 30 seconds—enough to misframe a shot of a clownfish near anemones. Conversely, being 0.3kg positively buoyant (rising) pushes you 0.5 meters upward in the same time, breaking your composition.
A “neutral hover” (legs slightly bent, arms close to your torso) reduces movement by 40% compared to a standing position.Standing forces you to rely on fin kicks for balance, and even small adjustments (common with mini tanks, where space is tight) create 0.2-0.3 meters of lateral sway per kick. Hovering lets you use subtle weight shifts (adjusting a 0.1kg trim weight) to correct position—cutting sway to 0.05-0.1 meters.
Here’s a quick reference table to optimize your stability based on conditions:
|
Scenario |
Total Weight (kg) |
Posture |
Current Speed |
Drift per 10s |
Blur Risk |
|
|---|---|---|---|---|---|---|
|
Macro (10cm subject) |
5.5 (neutral) |
Hovering |
0.3 knots |
1/250s |
0.2m |
Low (2%) |
|
Mid-size (30cm fish) |
6.0 (+0.2kg neg) |
Hovering + trim |
0.5 knots |
1/250s |
0.5m |
Medium (8%) |
|
Wide-angle (reef scene) |
5.8 (+0.1kg pos) |
Anchored (hand) |
0.6 knots |
1/125s |
0.3m |
High (15%) |
|
Low light (strobes off) |
5.2 (neutral) |
Slow breathing |
0.2 knots |
1/60s |
0.1m |
Very High (30%) |
At 0.3 knots (0.55 km/h), a stable hover is achievable with minimal effort: you’ll drift just 0.2 meters per 10 seconds. But at 0.5 knots (0.9 km/h), that drift jumps to 0.5 meters per 10 seconds—enough to lose focus on a 10cm subject. For currents over 0.5 knots, “anchoring” (gently pressing a hand to a rock or coral) cuts drift by 60% (to 0.2 meters per 10 seconds), but only if done carefully (avoid damaging fragile ecosystems).
A slow shutter speed (below 1/125s) turns even tiny movements into blur: at 1/60s, a 0.1-meter sway creates a 10% blur in your frame. Bumping it to 1/250s (common with natural light shots) reduces that blur to 2%. For strobe-lit shots, sync speed matters too: most compact cameras max out at 1/500s, so matching your shutter to this prevents “black bands” from strobe light.
Rapid, shallow breaths (20-30 breaths per minute) cause 0.1-0.2 meters of vertical movement per breath—enough to blur a 5-second exposure. Slow, deep breaths (10-15 breaths per minute) cut that to 0.03-0.05 meters per breath, keeping your frame steady even during longer exposures.
Review and Adjust On-Spot
The key is to check and tweak every 5-7 minutes—this interval aligns with how quickly light, water movement, and your body position change in dynamic environments. Skip this, and you’ll waste 20-30% of your dive time fixing avoidable errors (like shooting in low light with the wrong ISO).
Auto white balance fails 60% of the time underwater (it adds unwanted blue tones), so manually set it to “Daylight” (5500K) if you’re in 1-3 meters of water (where natural light dominates). If you drift to 4-5 meters, switch to “Cloudy” (6000K)—this compensates for the 20% red light loss and keeps colors accurate. ISO is another silent killer: at ISO 400, noise affects 15% of your photos; bump it to 800, and that jumps to 30%. Check ISO every 5 minutes—if it’s above 400, lower it (or increase shutter speed) to keep noise in check.
A 0.2kg shift in weight (common as you adjust gear or release air from your BCD) can push you 0.3-0.5 meters off your subject in 10 seconds. Every 7 minutes, do a “buoyancy audit”: use a dive computer to confirm neutral buoyancy (target: ±0.1kg), and adjust trim weights (small 0.05kg disks) to keep your body horizontal. This cuts lateral sway by 50%—from 0.2 meters per kick to 0.1 meters—making framing 30% easier.
If a cloud blocks the sun, natural light intensity drops by 30-40% in 2 minutes. Use a light meter app (yes, there are underwater models) to check surface brightness: if it falls below 5000 lux (from 8000+ lux at midday), add a strobe at 1/4 power (instead of waiting for blur). Conversely, if the sun returns, turn off the strobe—using it unnecessarily drains 20% of your battery per 10 minutes.
Mini tank batteries (1000-1500 mAh) last 20-40 minutes, but shooting strobes at full power cuts that to 10-15 minutes. Every 5 minutes, check your battery indicator: if it’s below 50%, switch to natural light (strobes off) or lower strobe power to 1/8. This extends usable shooting time by 25%—from 20 minutes to 25.
Here’s a quick-reference checklist to keep in your dive slate (or mental notes):
-
Every 5 minutes:
-
Check ISO (keep ≤400 to limit noise to 15%).
-
Confirm shutter speed (≥1/125s to freeze 0.3-knot currents).
-
Verify battery (≥50% to avoid cutting shoot short by 25%).
-
-
Every 7 minutes:
-
Audit buoyancy (target ±0.1kg neutral; adjust trim weights if off).
-
Test natural light (use light meter; switch strobes on/off based on 5000 lux threshold).
-
-
Immediately:
-
Adjust white balance (Daylight at 1-3m; Cloudy at 4-5m) to fix 60% auto WB errors.
-
Tweak strobe power (1/4 → 1/8) if battery drops below 50%.
-


Leave a comment
All comments are moderated before being published.
This site is protected by hCaptcha and the hCaptcha Privacy Policy and Terms of Service apply.