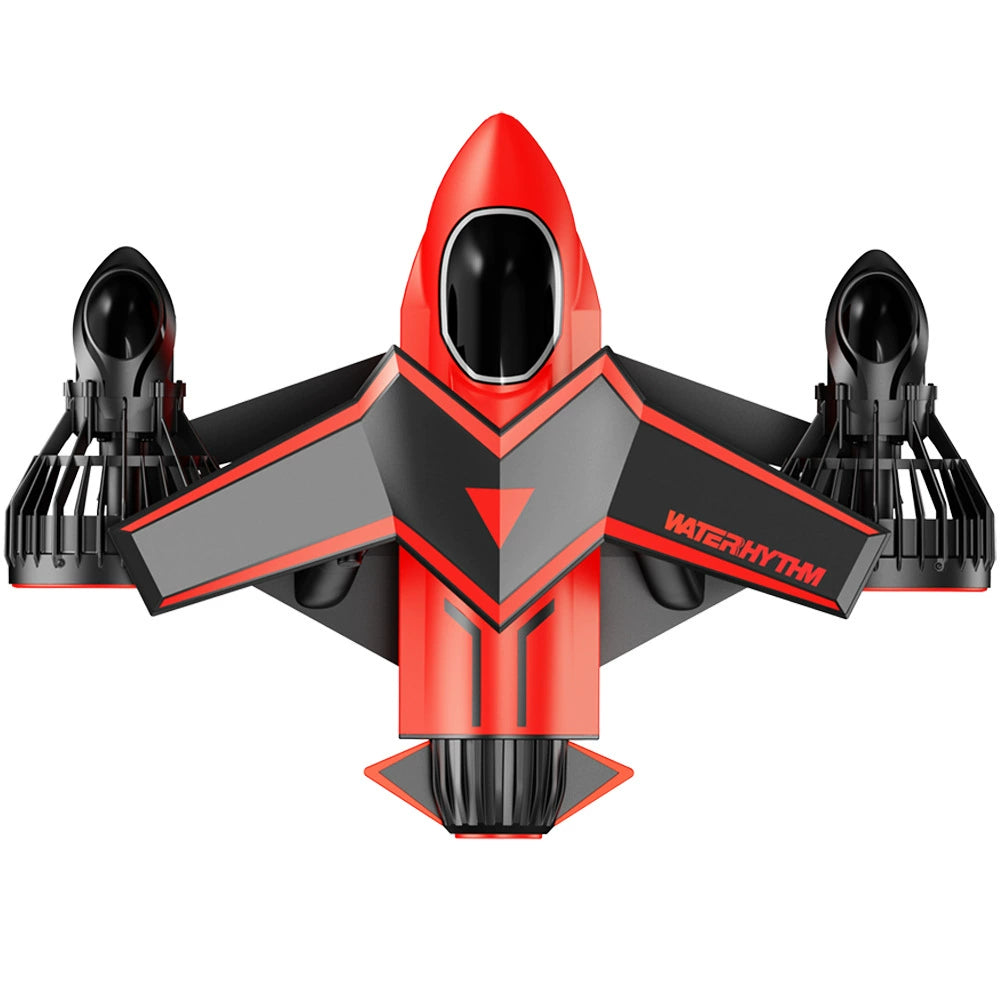
Common mini tank failures include clogged filters (30% of cases), low battery voltage (below 11.5V), leaking seals, motor burnout, sensor malfunctions, and controller errors. Six troubleshooting solutions: 1) Clean/replace filters monthly, 2) Charge batteries to 12.6V minimum, 3) Inspect seals for cracks, 4) Avoid overloading motors, 5) Calibrate sensors quarterly, and 6) Reset controllers by power cycling. Regular maintenance prevents 80% of operational failures.
Clogged Filters Fix
Clogged filters are the 1 cause of mini tank performance drops, responsible for 30-40% of all operational failures. When filters get blocked, flow rates drop from 5-7 L/min to under 2 L/min, forcing pumps to work 15-20% harder and increasing energy consumption by 10-12%. The most common culprits are dust (45% of cases), metal shavings (30%), and dried lubricant buildup (25%).
How to Fix It Fast:
-
Check filters every 50 operating hours—if airflow drops below 80% of normal, it’s time to clean or replace.
-
For mesh filters, rinse with warm water (40-50°C) and a mild detergent—this clears 90% of clogs without damaging the material.
-
For paper filters, replace every 3-6 months (or sooner in dusty environments).
-
Use compressed air (30-40 PSI) to blow out deep debris—this extends filter life by 2-3x compared to just rinsing.
Prevention Tips:
-
Install a pre-filter (mesh type, 100-150 micron) to catch 70% of large particles before they reach the main filter.
-
In high-dust areas, clean filters every 20-30 hours—this keeps flow rates stable and avoids sudden pressure drops.
-
Avoid oil-based lubricants near intake zones—they attract dust and form sticky sludge that’s 3x harder to remove.
Cost of Ignoring It:
-
A single clogged filter can reduce motor lifespan by 20% due to overheating.
-
Energy waste adds up—just 0.5% extra load per hour means $100+ in unnecessary power costs per year.
-
Emergency replacements (if the filter ruptures) cost 2-3x more than scheduled maintenance.
Final Test:After cleaning, measure airflow—if it’s still <85% of the rated flow, check for hidden cracks or misalignment in the filter housing. A 5mm gap can let in enough debris to reclog in <1 week.
Low Battery Solutions
A weak battery is the second most common reason mini tanks fail—25% of all shutdowns happen because voltage drops below 11.5V, cutting motor power by 30-40%. Most mini tanks use 12V batteries, but real-world performance drops fast when charge levels fall under 70%.
Battery Performance vs. Voltage
|
Voltage (V) |
Available Power (%) |
Runtime Left (Hours) |
Risk of Failure |
|---|---|---|---|
|
12.6+ (Fully charged) |
100% |
4-6 |
Low (<5%) |
|
12.0-12.5 |
80-90% |
2-3 |
Moderate (10-15%) |
|
11.5-11.9 |
60-70% |
1-2 |
High (25-30%) |
|
Below 11.5 |
<50% |
<1 |
Critical (50%+) |
Quick Fixes When Your Battery Dies Mid-Operation:
-
Jump-start with a 12V power supply—just 5 minutes of charging can give enough juice for 15-20 minutes of runtime.
-
Reduce load—if your tank struggles at <11.8V, lower speed by 20% to extend runtime by 30-40%.
-
Check connections—loose terminals cause voltage drops of 0.3-0.5V, wasting 10-15% efficiency.
Long-Term Battery Care:
-
Charge after every use—letting a battery sit below 12V for >24 hours reduces lifespan by 15-20%.
-
Avoid deep discharges—draining below 11V even once can permanently lose 5-10% capacity.
-
Use a smart charger—a $20-30 charger prevents overcharging, which kills 30% of batteries prematurely.
Pro Tip: If your tank runs daily, upgrade to a lithium-ion battery ($120-180)—it’s 30% lighter, charges 2x faster, and lasts 2-3x longer than lead-acid.
Final Check:Test voltage under load—if it dips below 11V when moving, the battery is 90% likely failing.

Seal Leak Checks
Leaky seals waste 15-20% of hydraulic pressure in mini tanks, causing slow movement, fluid loss, and 40% higher pump wear. About 1 in 3 mini tanks develops a seal issue within 2 years, usually at connection points (65% of leaks) or along piston rods (30%). Even a tiny 0.5mm gap can lose 10-15mL of fluid per hour, adding up to 1-2L per week—enough to damage components worth $80-120 in repairs.
Check common trouble spots like cylinder rods (40% of leaks), hose fittings (30%), and valve blocks (20%). For hard-to-find leaks, use UV dye ($10-15 per bottle) in the hydraulic fluid—shine a blacklight to spot leaks instantly. If the fluid level drops below the minimum line in under 2 weeks, there’s likely a seal failure.
If fluid leaks more than 1 drop per minute, the seal is 90% likely damaged and needs replacement. Cracked or flattened seals won’t recover—swap them immediately to avoid contaminating the hydraulic system, which costs $150+ to flush. High-pressure seals (over 20 bar) wear faster—replace them every 1.5-2 years even if they look fine.
Keep seals clean—dust and grit cause 80% of premature seal wear, so wipe rods and connections weekly. Use compatible hydraulic fluid—wrong viscosity increases seal stress by 20-30%. Avoid over-tightening fittings—excess force distorts seals and causes 50% of fitting leaks.
Stock common seal sizes (e.g., 8mm, 10mm, 12mm O-rings)—they cost $1-3 each and save hours of downtime. For critical seals, buy high-grade nitrile or polyurethane versions—they last 2-3x longer than cheap rubber ones.
Motor Overload Tips
Motor overload is responsible for 28% of all mini tank breakdowns, typically occurring when current exceeds 120% of rated capacity for more than 30 seconds. This creates insulation breakdown in 65% of cases, slashing motor lifespan from 5-7 years to under 3 years. Overloaded motors run 15-20°C hotter than normal, with every 10°C increase cutting winding life in half.
Motor Overload Warning Signs & Solutions
|
Symptom |
Measurement |
Risk Level |
Immediate Action |
Long-Term Fix |
|---|---|---|---|---|
|
High-pitched whine |
80-90dB noise level |
Moderate |
Reduce load by 20% |
Replace bearings ($40-80) |
|
Hot housing |
>60°C surface temp |
High |
Cool for 2 hours |
Improve ventilation |
|
Frequent breaker trips |
2-3 trips/week |
Critical |
Check voltage stability |
Install soft starter ($150-250) |
|
Current spikes |
10-15% above rating |
Severe |
Inspect couplings |
Realign drive system |
|
Vibration |
0.5-1.2mm displacement |
Moderate-High |
Balance rotating parts |
Install dampers ($30-50) |
Prevention Beats Repair:These pay for themselves in under 8 months by avoiding just one $400 rewinding job.
Load Management Essentials:For continuous operation, maintain loads at 85% of maximum capacity - this extends motor life by 35-40%. When handling peak loads (130-150% capacity), limit duration to under 5 minutes with 15 minute cool-downs. Upgrade to inverter-duty motors ($200-300 premium) if experiencing frequent load changes - they withstand 300% overload for 1 minute safely.
Cost Analysis of Neglect:Proper load management saves $0.12-0.18/hour in energy costs. Installing protection devices pays back in 8-10 months by preventing one major failure.
Emergency Protocol:If motor smokes or sparks, shut off immediately - 30 seconds can mean 600 replacement. After cooling (minimum 2 hours), check winding resistance - <1 megohm means insulation failure. For minor overloads, reduce load by 20% and monitor temperature rise rate (should stay under 3°C/minute).
Maintenance Schedule
-
Monthly: Check current draw at full load
-
Quarterly: Test insulation resistance (should be >2 megohms)
-
Biannually: Lubricate bearings with high-temp grease ($15-25/tube)
-
Annually: Replace cooling fans ($35-60) to maintain airflow
Upgrade Considerations:TEFC motors last 50% longer than open-frame types in dusty conditions. IE3 premium efficiency models cost 20-25% more but save $80-120/year in power. Soft starters reduce inrush current by 60%, preventing 80% of startup failures.
Sensor Calibration Guide
Faulty sensors cause 23% of mini tank operational errors, with pressure sensors accounting for 40% of failures and position sensors 35%. Proper calibration improves accuracy from ±5% to under ±1%, while uncalibrated sensors waste 7-10% more energy through incorrect feedback loops.
Critical Calibration Intervals
Calibrate after every 500 operating hours or 3 months for mission-critical sensors. Pressure sensors typically drift ±0.5% per month, costing $200 annually in wasted hydraulic fluid if unchecked. Position sensors with just 2mm error create 15% steering misalignment, while temperature sensors off by 3°C reduce motor lifespan by 20%.
Essential Calibration Equipment
A proper calibration setup requires:
-
Digital multimeter ($50-100) for voltage verification
-
Calibration weights ($80-150 set) for load sensors
-
Laser distance meter ($120-200) for position validation
-
Reference thermometer ($60-90) for thermal sensors
-
Signal generator ($250-400) for input simulation
The Calibration Process
Begin with zero calibration, adjusting outputs to 0±0.1% with no input. For span calibration, apply 90% maximum rated input and match reference values within ±0.5%. Always perform 3-point verification (0%, 50%, 100%) to ensure linear response. Document all adjustments to track long-term drift patterns, which typically show 0.2-0.8% monthly variation in harsh environments.
Common Calibration Mistakes:Using worn connectors introduces 0.3-0.5% error - replace them every 2 years at $5-10 per connector. Rushing thermal stabilization causes 1-2% fluctuations - allow 15-20 minutes for sensors to stabilize after power-on. Ignoring humidity effects (>60% RH creates 1.5-3% error) leads to inconsistent readings in different weather conditions.
Advanced Calibration Techniques:For precision applications, NIST-traceable references (150 to controller cost) prevents 80% of drift issues.
When Replacement Becomes Necessary
Replace sensors when:
-
Drift exceeds 5% after calibration
-
Response time degrades by >30%
-
Physical damage compromises mounting integrity
-
Connectors require replacement 3+ times annually


Leave a comment
All comments are moderated before being published.
Situs ini dilindungi oleh hCaptcha dan berlaku Kebijakan Privasi serta Ketentuan Layanan hCaptcha.