


Rinse the cylinder with fresh water for at least 3 minutes within 10 minutes of saltwater use, and keep internal humidity below 50%. Inspect it every 6–12 months. Salt residue left for more than 72 hours will accelerate corrosion, while proper maintenance can extend service life by roughly 2–3 years.

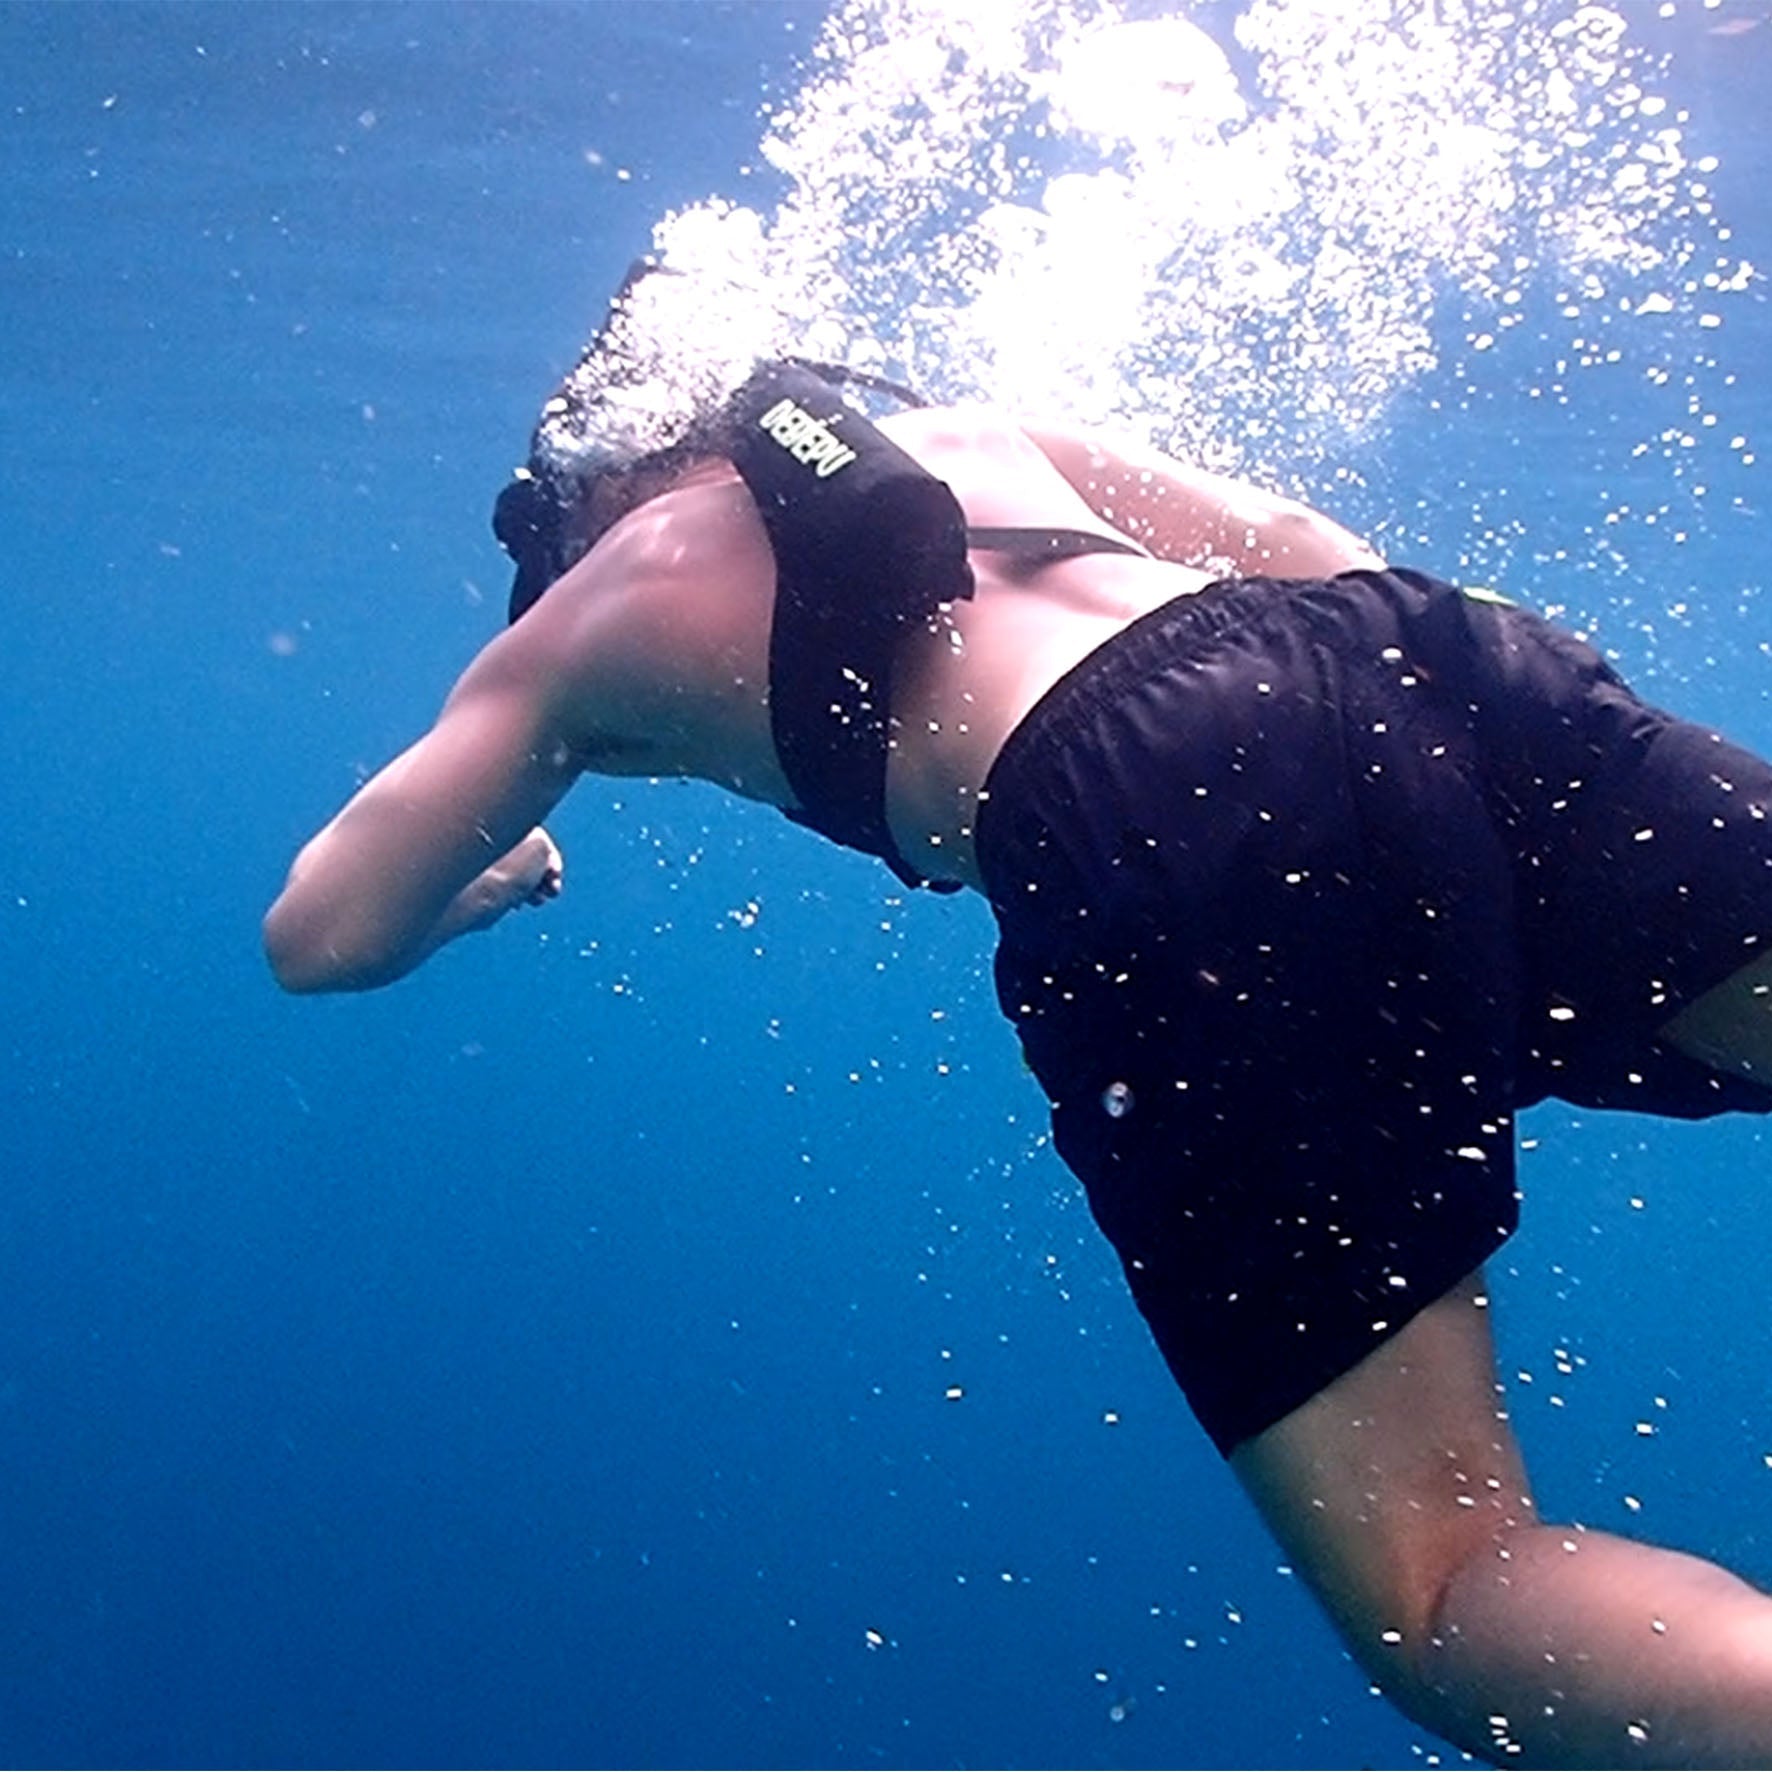
Freshwater Rinse
Professional Freshwater Rinsing
Pick up the 14.3 kg aluminum cylinder and carry it to the rinse tank. Turn the chrome-plated brass valve fully closed and confirm that the internal sealing rubber is seated properly. Glance at the high-pressure SPG connected to the regulator. The needle should still be sitting somewhere between 200 and 300 psi.
That remaining pressure creates a slight positive pressure inside the cylinder. It helps prevent rinse water from being forced inward through the gaps around the valve seat. Remove the regulator first stage, then snap a rigid plastic dust cap over the 5/8-inch DIN internal threads.
Fill the tank with warm water at 38°C to 40°C. Lay the entire cylinder horizontally in the tank until it is fully submerged. Sodium chloride crystals dissolve very slowly in cold water, but in water close to 40°C, most of the salt residue will loosen within 15 minutes. Set a 25-minute timer.
- Keep the water level about 5 cm above the highest point of the valve handwheel
- Every 5 minutes, put on rubber gloves and rotate the cylinder 180 degrees
- Use your hand to gently move the water around the 1.5 mm burst-disc vent hole
- Once the water cools below 30°C, remove the cylinder and place it on a non-slip mat
If full immersion is not possible, use a household hose instead. Attach a spray nozzle and set the pressure to about 35 psi. Hold the nozzle roughly 10 cm from the valve and flush every gap thoroughly at a flow rate of around 2.5 gallons per minute.
The pressurized water should hit the PTFE washer beneath the valve handle. Grip the black rubber handwheel with your fingers and work it back and forth through about half a turn. Fine sand as small as 0.05 mm and trapped salt grains will wash out onto the floor. Then follow the body of the cylinder all the way down to the base.
Pull off the 8 mm-thick black polyurethane protective boot at the bottom. Seawater and siliceous sand often accumulate inside and stick tightly to the 6061-T6 aluminum outer wall. The white calcium carbonate deposits can become so stubborn that they cannot even be scraped off with a fingernail.
- Use a soft boar-bristle brush dipped in deionized water to scrub the dome-shaped base repeatedly
- Check whether the four 5 mm drainage holes in the bottom of the boot are clogged with sand
- Apply a few drops of 1.5% white vinegar solution to stubborn salt deposits and let it sit for 30 seconds
- Rinse away all acidic liquid, then place the boot upside down on a mesh rack and let it dry for 12 hours
The stamped markings around the neck are packed with letters and numbers. The production date, DOT-3AL certification mark, and working-pressure stamp are typically impressed to a depth of about 0.5 mm. These grooves are exactly where tiny salt crystals and sunscreen residue tend to collect after seawater dries.
Use a lint-free cloth lightly moistened with anhydrous isopropyl alcohol and wipe firmly along the stamped markings twice. The outer edge of the hex nut surrounding the burst-disc assembly should also be cleaned completely. Use an old soft toothbrush dipped in warm water and follow the outline of the hex nut.
A few tiny white salt particles will fall away as you brush. Even 0.1 grams of salt trapped in that area can force an annual service technician to use more than 50 N·m of torque to break it loose. Once cleaning is done, move on to drying.
Take a 60 × 120 cm microfiber towel that can absorb up to 7 times its own weight in water. Dry the large droplets off the cylinder body. Grip the 111 mm-diameter neck firmly with your right hand and rest your left hand on the valve handwheel. Crack the valve open counterclockwise by about 5 degrees.
You will hear a sharp hiss. Let it vent for only 0.3 seconds, then close it immediately. That brief burst of 3000 psi-class airflow will blast away the last few droplets trapped near the outlet. Then use a clean cotton swab to absorb the final trace of moisture deep inside the threads.
The thermometer in the equipment room should read about 22°C, and the dehumidifier should keep relative humidity below 45%. Move the cylinder inside and stand it upright on a 1.5 cm-thick shock-absorbing rubber pad. Strong UV exposure for two full days can leave visible cracks in an O-ring.
- Put on powder-free nitrile gloves and use a brass pick to remove the old O-ring
- Measure the inner diameter with calipers to confirm it is the standard 12.42 mm
- Squeeze out an amount of food-grade silicone grease about half the size of a grain of rice and rub it between your fingertips
- Apply a very thin film to the new O-ring and seat it back into the valve groove
Two 5 cm-wide heavy-duty nylon straps should hold the cylinder securely to a wall-mounted steel rack. Store it upright. Any trace amount of internal moisture will gradually settle by gravity at the thickest aluminum section at the bottom of the cylinder.
Open the maintenance logbook and turn to the equipment service page. Write down the date in black ink and record 280 psi in the pressure field.
Filter Change
Warning Signs
The manual that comes with most pumps may say to change the filter every 50 fills. Follow that rule in places like Sanya or the Philippines, and you are asking for trouble. In summer, coastal humidity often stays around 85%. For every cubic meter of air the pump draws in, it can take in about 20 grams of liquid water.
If you really wait until the 50th fill, you will already have pumped damp, salty air into the cylinder. After every fill, lean down and smell the air coming from the cylinder valve outlet. If you notice even a faint machine-oil smell, like a roadside auto repair shop, shut the machine down immediately and disconnect the hose.
Under the hard requirements of EN 12021 breathing-air standards, lubricant aerosol in breathing gas must never exceed 0.5 mg/m³. If you can smell oil, the activated carbon layer in the filter is already finished. If the air has a rusty metallic smell, the situation is even worse.
Salt-laden moisture has already broken through the barrier. Free chloride ions are now attacking the 6061-T6 aluminum inside the cylinder at a rate of about 0.2 mm per year. Buy filters with a transparent shell, so you can monitor the color-changing silica gel inside.
Older filters use blue silica gel with cobalt chloride, which turns from dark blue to pale pink once humidity rises to 60%. Newer eco-type filters use cobalt-free orange silica gel, which turns dark green once saturated.
The moment more than one-third of the beads have changed color, replace the filter without hesitation. At that point, the 13X molecular sieve has already lost 80% of its drying capacity. The pump is forcing 50 liters of air per minute through it, and once the desiccant is spent, humid high-pressure air can break through the remaining material in under 3 seconds.
Use this simple checklist against your own equipment:
| What to Check | Problem Sign | What It Means |
|---|---|---|
| Mouthpiece | Exhaled air has a metallic taste | The activated carbon barrier has failed by 90% |
| Relief valve | Air discharge wets a sheet of white paper | Dew point has climbed above -20°C |
| Color-indicating silica gel | Orange beads have turned dark green | Moisture loading has exceeded the 20% limit |
| Filter shell | Still feels cold after 10 minutes of filling | The desiccant is no longer generating heat because it has stopped working |
Buy a small digital scale accurate to 0.1 g. A brand-new standard portable filter usually weighs about 45.5 g when dry. High-activity molecular sieve is extremely hygroscopic—1 gram of it can bind about 0.22 grams of water.
After several fills, weigh it again. The moment the total weight exceeds 52 g, replace it. That extra 6.5 grams is water forced into the filter by high-pressure coastal humidity, and those water molecules will be driven deeper into the cylinder under 3000 psi.
If even a little moisture gets into an aluminum cylinder, the inner wall can develop a chalky white layer of aluminum oxide powder within 5 days. After every fill, perform a quick check the instant you crack the bleed valve. Hold a dry facial tissue about 5 cm from the outlet.
When the relief valve vents with a sharp pop, if the tissue immediately shows a wet spot even the size of a soybean, the air is too wet. The surrounding air humidity has effectively jumped by about 10 percentage points in that moment.
Good filters produce extremely dry air, with a dew point held below -20°C. When that dry high-pressure air hits a tissue, it leaves no wetness at all—the paper may even feel slightly crisp. Also pay attention to the sound of the compressor while it runs.
Normally, filling a 0.5L cylinder to 200 bar takes about 12 minutes. If it now takes 15 minutes, and the compressor motor is about 15 dB louder than usual, while the housing is too hot to touch, the filter is likely clogged.
The fine pores inside the filter are already blocked with water molecules and degraded oil residue. Airflow is restricted, so the compressor motor is forced to run under overload. Once machine temperature breaks past 75°C, microscopic metal particles worn from the piston rings begin traveling with the airflow.
Those micron-sized metal fragments can become lodged in the regulator piston gap, where they are almost impossible to remove. While the machine is running, touch the center of the metal filter shell. A properly working molecular sieve releases heat while actively absorbing moisture.
Under normal conditions, the outer shell should stay somewhere between 40°C and 50°C and feel warm. If it feels completely cool—just like room temperature—the desiccant has already absorbed all the water it can and stopped reacting. From that point on, wet salt-laden air is entering the cylinder freely.
Attach the second stage to the cylinder and take one deep breath from the fresh fill while standing at the surface. If you taste even a faint sourness on your tongue, bacteria or mold from the degraded filter media may already be entering your airway under 3000 psi. In less than 20 minutes underwater, your throat may start to feel dry and irritated.
Before every dive, check these key points carefully:
- If the filter weighs more than 15% above its original weight, do not use it
- If an empty inhale from the mouthpiece tastes bitter or sour, vent the gas immediately
- Shine a flashlight through the housing and inspect the color-changing beads
- Use an infrared thermometer and do not let housing temperature exceed 65°C
Apply a strip of waterproof dive tape to the outer shell and write the opening date and original weight on it with an oil-based marker.
Professional Procedure Essentials
Do not force the filter housing open. The M22 aluminum housing threads are extremely fine, and after repeated high-pressure service, the metal may already have microscopic deformation that you cannot see. Use a calibrated torque wrench with the proper socket and keep disassembly torque below 15 N·m to avoid stripping the threads.
After opening it, the inner wall of the metal tube is often coated with white salt frost. A 5% industrial white vinegar solution is enough to dissolve salt and mineral scale. Dip a lint-free medical swab in the vinegar and wipe slowly along the base of the threads. Never use a steel wire brush.
Steel is much harder than 6061 aluminum alloy. One careless scrape can leave a 0.1 mm-deep groove. Under 3000 psi, high-pressure airflow will use that tiny defect to rip the adjacent O-ring apart.
Prepare the correct tools:
- 99% isopropyl alcohol solution
- A non-static brass brush
- A lint-free microfiber cloth
- Pointed wooden-stick medical swabs
Use the right tool to remove the old O-ring. Choose a brass or hard-plastic pick—both are softer than aluminum and will not scar the surface. Angle the tip at 45 degrees into the edge of the groove and lift gently. The old ring should come free cleanly.
An old O-ring with Shore A 90 hardness that has been under constant pressure for a long time will already have lost its elasticity. Its originally round cross-section becomes flattened into an oval. The very bottom of the groove often hides fine salt particles that are invisible to the eye. Spray a little isopropyl alcohol into the groove.
Let the isopropyl alcohol sit in the groove for 15 seconds so the old grease and residue can dissolve. Then use a compressed-air gun set to 2 bar and blow the dirty liquid out. When properly cleaned, the groove should feel almost glass-smooth, with a surface roughness around Ra 0.8 microns.
Even one tiny grain of sand left inside is enough to create a leak path. Air can escape at a rate of about 0.5 liters per minute through such a gap. The replacement fluororubber O-ring must be the exact correct size—if the cross-section is off by more than 0.05 mm, it can fail.
Under 200 bar, an incorrectly sized O-ring can rupture instantly. Apply an amount of dive-grade silicone grease no larger than a grain of rice, rub it between your thumb and forefinger, and use as little as possible. The surface of the ring should show only the faintest sheen.
- Your fingers must be completely free of sand and hair
- The grease film should stay under 0.01 mm thick
- Too much grease can block the intake opening
- Never mix different lubricant chemistries
When opening a vacuum-packed filter cartridge, do not touch it with bare hands. Sweat, salt, and skin oil can transfer to the metal shell and then wick into the breathable membranes at both ends. Wear powder-free nitrile gloves and inspect the white PTFE gaskets at both ends.
They should sit perfectly flat, with no lifted edges. Those 0.5 mm-thick PTFE washers are there to block particles larger than 5 microns. Inside the cartridge is a packed bed of moisture-absorbing molecular sieve. During shipping, repeated impact can fracture the granules into fine powder.
If that powder accounts for more than 2% of total weight, it can migrate through the front cotton filter layer. Shake the new filter lightly in your hand. If you hear a loose sandy sound inside, the packing density has fallen below the safe threshold of 1.2 g/cm³.
Discard any such cartridge. Insert a good new filter slowly into the metal tube until it reaches the bottom. You should feel a slight resistance cushion a few millimeters thick. The internal clearance is only 0.2 mm, so keep the cartridge perfectly vertical as you guide it in.
Once the metal threads line up, turn the housing half a turn counterclockwise first until you hear a soft click—this helps seat the threads properly. Then thread it in by hand clockwise until it closes fully without any gap.
- Tighten clockwise by hand until it stops
- Use the socket and add another one-third turn
- Confirm the metal seam is fully closed
- Final torque should read 25 N·m
Once assembled, do not connect it to the cylinder immediately. Turn the pump on and let it run unloaded for 30 seconds. The front outlet will vent gas at roughly 100 bar, nearly at supersonic speed. That flushes out any dust or moisture introduced during assembly.
Then submerge the filter connector section in clean water at about 20°C and test it under pressure. Let the pump run with the fitting underwater for 60 seconds. Watch the seam closely. If you see even a 1 mm bubble, disassemble and reassemble it immediately.
A newly installed filter will run hot. Gas compression generates intense heat, and within 5 minutes the metal shell can exceed 65°C. The silicone grease you just applied will temporarily thin under heat, then settle into a stable protective film once the unit cools back to room temperature.
Frequent opening and resealing heavily wears the aluminum housing. Every one of those 1.5 mm fine threads is 鬲丨賲賱 friction every time. Apply only a trace amount of PTFE anti-seize to the outermost thread turns, staying clear of the internal air path. PTFE particles are only about 0.2 microns wide and help fill microscopic voids in the metal.
Storing the Filter
If you toss a dozen spare filters into the corner of a dive bag, many of them will be half-ruined before they are ever installed. Around equatorial island destinations, outdoor humidity often sits near 85% year-round. Water molecules are extremely small—only about 0.28 nanometers across. A normal 0.05 mm PE plastic bag cannot stop moisture vapor from diffusing in.
If the factory vacuum pouch has even a pinhole leak, the 13X molecular sieve inside can absorb about 15% of the surrounding moisture in just 4 hours. Before it ever reaches a compressor, a third of its service life may already be gone. On a precision scale, the cartridge may quietly gain 2 grams.
For unopened filter storage, choose the right barrier material. A polyester-aluminum moisture-barrier pouch is the safest option. The center layer contains a pure aluminum foil barrier about 12 microns thick, reducing water-vapor transmission to less than 0.01 g/m².
Even that is not enough on its own. Add a few 50 g packs of color-indicating silica gel. Place two orange silica-gel packs in the bag with the filter, then use a household vacuum sealer to remove the air.
- Set vacuum pressure to around -60 kPa
- Extend sealing heat time to 6 seconds
- Make sure the sealed seam is at least 8 mm wide
- Press the surface of the pouch and confirm there is no audible leak
Partially used filters are actually the hardest to manage. Once removed from the pump, both ends are left open. Ambient air starts pouring back through the 8 mm metal ventilation ports immediately. Overnight alone is enough for the remaining activated carbon to become contaminated with oil-laden ambient residue.
Use two silicone plugs with a perfectly matched inner diameter. The plugs should have a Shore hardness of 50 and seal both ends tightly. Press them in firmly by hand, then wrap the ends with three full layers of PTFE tape. Weigh the partially used filter immediately and write the precise weight, down to two decimal places, on white label tape.
A half-used filter still contains residual internal moisture. When storing it, double the desiccant load. Add 100 g of high-activity drying agent to pull that moisture back out. Place it in a temperature-controlled chamber for 24 hours, then weigh it again and compare the numbers.
- The silicone plugs should seat deeper than 5 mm
- Stretch the PTFE tape until it becomes semi-transparent and wrap it tightly
- Weigh and record the cartridge immediately after sealing
- Use the vacuum machine to remove the remaining salty humid air
Storage temperature matters tremendously. Moisture adsorption by molecular sieve is a reversible physical process. Once the environment exceeds 40°C, a saturated sieve begins releasing water again. In a hot car trunk in summer, interior temperatures can easily hit 65°C.
Within hours, the water stored inside the sieve turns back into high-pressure vapor. That hot moisture can rupture the PTFE nonwoven barrier and contaminate the remaining media around it. A proper storage cabinet should stay below 20°C year-round.
UV light is another enemy of rubber seals. The filter itself is protected by its metal shell during use, but the exposed O-rings and vent membranes at the ends are vulnerable to light aging. After two months of exposure to 280–315 nm UV-B, the elongation performance of the rubber can drop by 40%.
A fully opaque black storage box solves that problem. Put a Bluetooth-enabled temperature and humidity logger inside it so you can monitor even small environmental changes from your phone. If humidity rises above the 30% threshold, open the box and replace the desiccant immediately.
- Keep it away from south-facing windows and heat sources
- Keep internal box temperature below 20°C
- Keep humidity below the 30% red-line threshold
- Check the color of the indicating desiccant once a month
Physical impact can ruin a brand-new filter. The granules inside rely on gravity and packing density to remain evenly settled. If the cartridge drops from about 1 meter onto a hard concrete floor, the impact can exceed 50 G.
The packed bed can loosen instantly. Granules crush each other into fine particles smaller than 0.1 mm. Those invisible fines settle into side gaps, and what used to be an evenly resisting media bed becomes a bypass channel.
High-pressure gas always takes the easiest path. If a large gap forms, the airflow will shortcut around the absorbent granules. Drying efficiency can fall into the single digits. If you shake the cartridge gently and hear loose sand-like noise inside, do not install it.
Proper storage takes more than just wrapping it in plastic. Line the bottom of a hard storage case with 50 mm of shock-absorbing foam. When packing for dive travel, wrap the sealed moisture-barrier pouch inside a wetsuit and place it in the middle of the suitcase.
Visual Inspection
Routine Self-Checks
You have just left a scuba cylinder on the boat deck under the sun for 15 minutes. At 30°C, the seawater on the surface has dried, leaving a white salt crust about 0.1 mm thick. Remove the regulator first stage, and your eyes will go immediately to the seam where the brass valve meets the aluminum neck.
That 3/4-14 NPSM industrial thread has a gap of less than 1 mm, but seawater finds its way in easily. Shine a 300-lumen flashlight around the base of the valve. If you see green copper corrosion, saltwater has already worked past the threads and started attacking the CGA 850 O-ring inside.
Use your fingers to press the No. 112 fluororubber O-ring at the top of the cylinder and feel whether it still has elasticity. A ring that originally had Shore A 90 hardness will stiffen with age, and its edge may already show a fine crack of about 0.5 mm. Under 3000 psi, gas can hiss out through that crack, while outside moisture is forced inward.
Follow the body of the cylinder down to the black rubber boot at the base. Pull off the roughly 300 g boot with both hands. Often, 10 to 20 ml of foul-smelling stagnant water and sludge will run out.
Now inspect the exposed metal at the bottom of a Catalina AL80. If the paint has blistered more than 3 mm, scrape it open with your thumbnail. Underneath, you may find a pocket of white powder—pure aluminum oxide formed where seawater has been trapped against the metal.
Because the boot seals the area off from air, salt can eat away at the metal by about 0.05 mm per year. Use a soft brush to clear the four 5 mm drain holes in the plastic boot so trapped water cannot continue to sit there.
Move your hand upward and open the valve about a quarter turn. Let out a weak flow of roughly 50 to 80 psi, and bring your nose within 2 cm of the outlet. Clean compressed scuba air should smell like nothing at all.
The human nose is sensitive enough to detect even trace contamination. If the air smells like rusty iron, internal corrosion may already be consuming oxygen content. If it smells like muddy ditch water, there may be 50 ml or more of water inside, along with bacterial growth such as Pseudomonas.
After a dive, when the gauge reads about 500 psi, lift the empty aluminum tank—still about 14.3 kg—and hold it horizontally at chest height. Tilt it slowly through about 45 degrees and listen carefully with your ear near the body.
A faint dry scraping sound, like a handful of sand being poured across glass, means inner-wall debris is rolling around inside. Those particles are typically around 0.2 to 0.8 mm in size. If you hear heavier, duller knocking, a larger metal flake has come loose.
| Inspection Area | What to Do | Warning Threshold |
|---|---|---|
| Valve thread gap | Shine a 300-lumen flashlight directly into the seam | Visible green corrosion or white salt frost |
| Bottom rubber boot | Pull it off and drain stagnant water | Paint blisters larger than 3 mm |
| Air coming from the cylinder | Crack the valve and smell about 50 psi of discharge | Rust smell or muddy organic odor |
| Internal sound | Lift and tilt the 14.3 kg cylinder while listening | Sand-like friction sounds from 0.2 mm debris |
Also check the following:
- Inspect the factory-set 5250 psi purple-copper burst disc on the valve. If the edge has darkened, local corrosion may already have thinned it to below 0.05 mm.
- Use calipers to measure any dent caused by reef impact. If it exceeds 1.5 mm deep, the metal in that spot is structurally compromised.
- Check the stainless steel tank band where it contacts the aluminum. Galvanic corrosion can leave dense clusters of tiny pits where the two metals touch.
If you use a Yoke regulator, remove it and shine a light down through the outlet. The A-clamp valve core is chrome-plated outside and brass inside. Insert a medical swab and wipe gently around the inner wall.
If the swab comes out with dark brown oily residue, the activated carbon filter in the fill compressor has failed. High-pressure gas carrying compressor lubricant droplets has been sprayed directly onto your cylinder’s inner wall.
If your cylinder uses a DIN connection, insert a finger and trace the five inner threads. If you feel raised burrs or rough spots, the threads have been damaged by impact. Under 232 bar, high-pressure gas will always try to escape through damaged thread paths.
Then inspect the smooth shoulder section near the 3AL stamp. Use angled light to look for scratches deeper than 0.7 mm. A groove that deep has already cut through the original transparent polyurethane protective coating.
A cylinder fresh out of 26°C seawater should feel uniformly cool. Run your palm over the body. If one isolated area feels warm, the aluminum beneath may be reacting actively with trapped saltwater and generating heat.
Professional Annual Internal Inspection
In the dive shop, the technician secures a scratched aluminum cylinder on the workbench. The vise is lined with 15 mm-thick hard rubber pads and grips the 184 mm body tightly. A heavy 45 cm torque wrench is seated into the hex recess at the top of the brass valve, preset to release at 40 ft-lb.
With a sharp downward force, the technician cracks the valve loose. A shrill hiss of about 300 psi of residual gas escapes, and the 800 g brass valve comes free. A stainless steel hook tool slips into the groove beneath the valve and extracts the old CGA 850 O-ring that has been in service for 365 days, dropping it into a red scrap bin.
On the bench sits a 500 ml beaker of clear liquid: a 1:3 mixture of white vinegar and 40°C warm water. A stiff nylon brush soaked in that solution is thrust into the inlet threads at the base of the brass valve and worked back and forth.
A white calcium carbonate scale layer, about 0.2 mm thick, usually coats the threads. The acidic solution reacts immediately, releasing dense tiny carbon dioxide bubbles. After the residue is blown dry with compressed air, the metallic shine of the sealing surface reappears.
Next, the technician takes an 8 mm-diameter fiber-optic borescope from a dry cabinet. Through the 3/4-inch neck opening, the 60 cm flexible probe is fed slowly into the dark interior of the cylinder. At the tip, a white LED light of more than 250 lumens switches on instantly.
A wall-mounted 1080P monitor magnifies the inner aluminum wall by about 40 times. The technician uses on-screen caliper tools to search for corrosion pits left by saltwater. If pitting exceeds 5% of the designed wall thickness of 11.1 mm, the technician picks up a drill and bores three 10 mm condemnation holes straight through the cylinder body.
Nearby lies a 17 kg 3AA chrome-moly steel cylinder. When the borescope goes inside that one, the pale oxidation seen in aluminum is replaced by deep brown iron corrosion. The owner had stored it horizontally in a car trunk for months, and about 15 ml of seawater had seeped in and pooled along the bottom.
After 120 days of slow electrochemical oxidation, that waterline has turned into a dark brown linear rust trench. The technician removes the borescope and picks up an eddy-current inspection unit with a slender metal probe.
The probe carries alternating current at 100 kHz to 1 MHz and is scanned very slowly—about 10 mm per second—around the 3/4-14 NPSM neck threads. On pre-1989 6351-T6 aluminum cylinders, which are prone to stress cracking under 3000 psi, even a microscopic crack only one-tenth the width of a human hair can interrupt the electromagnetic field.
When that happens, the oscilloscope next to it spikes with a red anomaly of more than 50 mV. That is a clear warning that the cylinder could rupture on its next fill.
In another cylinder, the borescope reveals a yellowish scale layer on the interior wall less than 0.1 mm thick. The technician brings over a 5-gallon plastic drum and pours in 5 pounds of alumina ceramic tumbling media along with 2 liters of distilled water through a large plastic funnel.
A solid stainless steel blind plug replaces the valve opening. The technician then lifts the mud-filled cylinder onto an industrial roller machine with two conveyor belts. Once the green start button is pressed, the neoprene-covered rollers begin turning the cylinder in place.
The motor is set to a constant 30 rpm. Thousands of hard ceramic particles tumble through the water, striking the inner wall and producing a deep rolling noise of about 65 dB. This aggressive mechanical cleaning runs for 2 to 4 hours, stripping away salt, scale, and corrosion from hard-to-reach interior surfaces.
When the machine stops, the blind plug is removed and the muddy slurry pours out, carrying white mineral scale and early rust with it. A bent industrial pressure-wash wand is inserted into the cylinder and flushes it three times with 80 psi water. Then the technician switches to a heat-resistant PTFE-lined metal hose.
A hot-air dryer beside the bench runs at full power. A stream of 60°C dry air is forced down the hose all the way to the bottom of the cylinder and held there for 30 minutes. Every trace of residual moisture is driven off, along with any remaining dust.
| Inspection Tool | Inspection Area and Procedure | Scrap / Alarm Threshold |
|---|---|---|
| Fiber-optic borescope | Insert 60 cm into the cylinder and search for pitting | Pit depth exceeds 5% of wall thickness |
| Eddy-current detector | Scan neck threads at 100 kHz | Red spike above 50 mV on screen |
| Torque wrench | Remove and reinstall valve at 40 ft-lb | Torque error causes residual gas leakage |
| Ceramic tumbler | Load with 5 lb media and rotate at 30 rpm | 4-hour polishing of hidden interior areas |
Examples of automatic rejection include:
- An old cylinder stamped 6351-T6 triggers more than 50 mV during eddy-current testing, so the technician drills it out of service
- An external dent measured deeper than 1.5 mm means the stress-bearing structure has already been compromised
- If the borescope shows blackened or greened burst-disc edges inside the brass valve, the entire high-pressure valve core assembly is replaced
Once fully dried, the inside surface of the cylinder should feel completely smooth. The technician opens a tube of Christo-Lube oxygen-compatible grease and applies about 0.5 grams—roughly the size of a soybean—to a gloved fingertip, then spreads it over a new CGA 850 fluororubber O-ring.
Ordinary silicone oil is strictly forbidden here. In a 3000 psi high-pressure oxygen-rich environment, even a trace of silicone oil can flash violently if exposed to friction heat, generating temperatures above 1000°C.
A new 5 mm outer-diameter PTFE dip tube, about 10 cm long, is then pushed into the lower opening of the brass valve. During high-pressure filling, this helps block traces of compressor lubricant from being carried inward with the gas. The technician picks up the torque wrench again.
The brass valve is tightened clockwise. When the preset 50 ft-lb torque is reached, the wrench gives a sharp click. The valve is now fully seated into the aluminum neck, and the sealing gap—down to about 0.01 mm—is completely closed.
Finally, the technician pulls a tough polyester VIP sticker from the drawer. Using a spring-loaded punch, two small 2 mm holes are marked in the printed fields for 2026 and April.
The sticker reads DOT 3AL and VIP Passed, and the back is coated with a strong acrylic adhesive. Even after 50 hours of continuous operation in saltwater at 30 meters, its edges will not peel.
At any reputable fill station in North America, if the owner cannot find a current VIP sticker with clearly punched date marks, they will not put even 100 psi into the cylinder. The new sticker is pressed neatly onto the shoulder of the cylinder, covering the adhesive residue left by last year’s inspection label.

Leave a comment
All comments are moderated before being published.
Situs ini dilindungi oleh hCaptcha dan berlaku Kebijakan Privasi serta Ketentuan Layanan hCaptcha.