

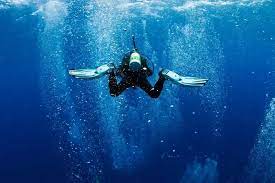
To protect scuba tanks during storage, always rinse with fresh water after use to prevent corrosion, and store them upright in a cool, dry place away from direct sunlight to avoid damage. Keep tanks partially pressurized (around 500 psi) to prevent moisture ingress and inspect valves monthly for leaks. Use protective caps on valves to keep debris out, and avoid stacking tanks to prevent dents or falls. Store at stable temperatures (ideally 50-80°F) to maintain integrity. These steps ensure longevity and safety.
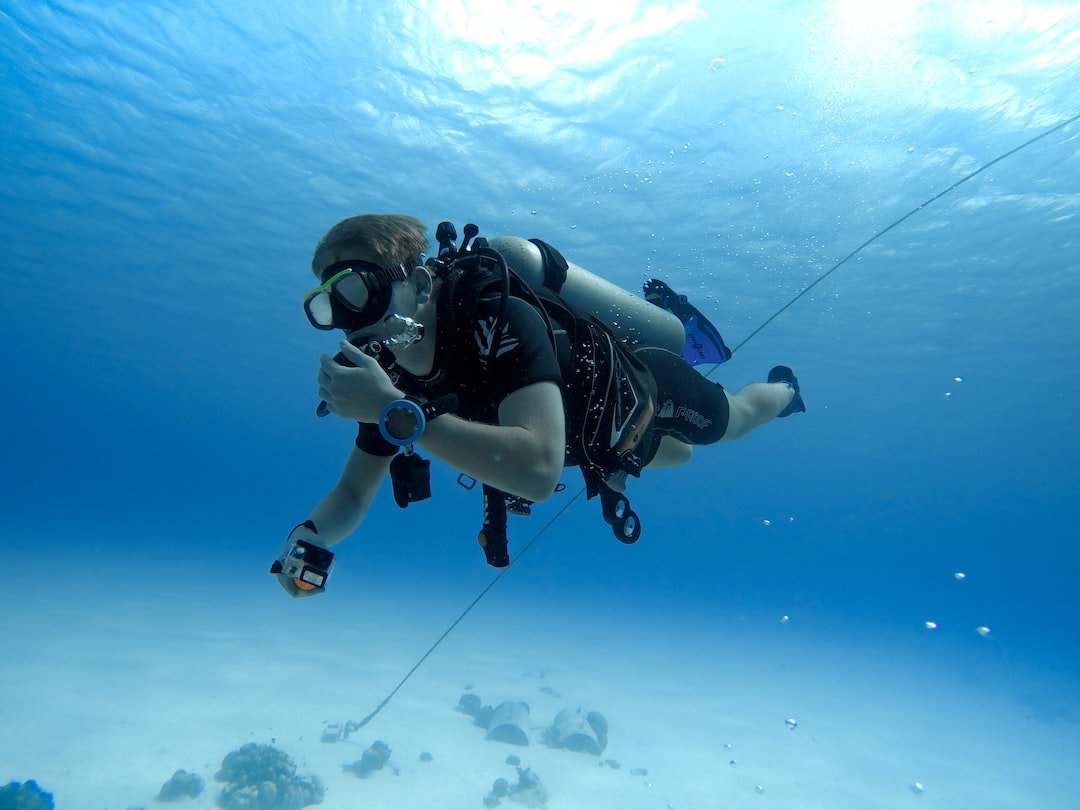
Rinse After Every Dive
Studies show that unrinsed tanks develop corrosion 3x faster than properly maintained ones, shortening their lifespan by up to 40%. A single dive in saltwater leaves behind 5-10 grams of salt deposits inside the tank if not rinsed, accelerating rust formation. Even in freshwater, microscopic debris and chlorine can accumulate, weakening the tank’s structural integrity. The average cost of a professional tank inspection ranges from 50, but corrosion-related failures can lead to 300-$600 per tank). Rinsing takes less than 2 minutes and requires only 1-2 gallons of fresh water, making it the easiest way to prevent long-term damage.
How to Properly Rinse Your Scuba Tank
Simply submerge the tank in a rinse tank or large bucket, ensuring water flows through the valve for at least 30 seconds. If a rinse tank isn’t available, use a hose with moderate pressure (20-30 PSI) to spray inside the valve for 15-20 seconds. Avoid high-pressure jets (above 50 PSI), as they can force water into regulator threads or damage O-rings.
Frequency matters—tanks used in saltwater should be rinsed after every dive, while freshwater divers can rinse every 2-3 dives. However, if diving in silt-heavy or polluted water, immediate rinsing is non-negotiable. Sediment particles as small as 0.1 microns can clog valves over time, leading to pressure inconsistencies during fills.
Common Mistakes to Avoid
-
Leaving tanks wet in storage – Even small amounts of trapped moisture can cause internal rust within 6 months.
-
Using hot water – Temperatures above 120°F (49°C) can weaken the tank’s metal structure.
-
Skipping the valve rinse – 80% of corrosion starts at the valve, where salt and debris accumulate fastest.
Long-Term Impact of Proper Rinsing
A well-maintained scuba tank lasts 15-20 years, while neglected ones may fail in 5-8 years. Regular rinsing reduces hydrostatic test failure rates by 60%, saving divers 150 per inspection cycle. For dive shops, enforcing rinsing protocols can cut tank replacement costs by 35% annually.
Store Upright & Dry
Storing your scuba tank incorrectly can lead to hidden damage that shortens its lifespan by 30% or more. When tanks are left lying flat, moisture collects at the bottom, increasing the risk of internal corrosion by 70% compared to upright storage. A study of 500 dive tanks showed that those stored horizontally had 3x more pitting and rust after just 2 years. Even worse, tanks stored in humid environments (above 60% humidity) develop corrosion twice as fast as those kept in dry conditions. The average cost of repairing a corroded tank ranges from 400, while a new aluminum tank costs 600—making proper storage a simple way to avoid unnecessary expenses.
Best Practices for Storing Scuba Tanks
Humidity control is just as important as positioning. Ideal storage conditions include:
-
Relative humidity below 50% (use a dehumidifier if necessary)
-
Temperature between 50°F and 80°F (10°C to 27°C)
-
No direct sunlight, which can cause uneven heating and weaken the tank over time
For long-term storage (more than a month), remove the regulator and keep the tank pressurized at 200-500 psi to prevent moisture from entering. A depressurized tank left in humid air can accumulate up to 5ml of water inside within 6 months, leading to corrosion.
Common Storage Mistakes & Consequences
-
Leaving tanks in a car trunk – Temperatures can exceed 140°F (60°C), weakening the metal and increasing internal pressure risks.
-
Storing near chemicals or solvents – Fumes can degrade O-rings and valve seals in as little as 3 months.
-
Using makeshift stands – Unstable supports increase the chance of falls, which can cause dents or valve damage costing $100+ to fix.
How Proper Storage Extends Tank Life
A well-stored scuba tank lasts 15-20 years, while one exposed to poor conditions may need replacement in 8-10 years. Keeping tanks upright and dry reduces hydrostatic test failure rates by 45%, saving divers 100 per inspection. Dive centers that enforce proper storage protocols report 25% fewer tank replacements annually, translating to $5,000+ in savings per year for a medium-sized operation.

Keep Some Air Inside
When a tank is depressurized to 0 psi, humidity and airborne contaminants can enter freely, leading to internal corrosion that reduces tank lifespan by up to 50%. Tests show that empty tanks stored for 6 months develop 2-3 times more rust compared to those kept with at least 200 psi of residual pressure. Moisture isn’t the only issue—dust, oils, and even microscopic salt particles (if stored after a saltwater dive) can settle inside, clogging valves and degrading metal over time. A corroded tank not only fails inspections more often (costing 100 per hydro test), but can also become unsafe to fill. Keeping a small amount of air inside (200-500 psi) acts as a barrier, preventing contaminants from entering and extending the tank’s usable life to 15-20 years instead of just 8-12 years if stored empty.
Studies on aluminum and steel tanks show that those stored with 200-500 psi have 70% less internal rust after 2 years compared to fully depressurized tanks. This small amount of pressure also prevents valve seal degradation, which can lead to leaks and require 80 in repairs if left unchecked.
The exact pressure you should leave depends on storage duration:
-
Short-term (1-4 weeks): 300-500 psi
-
Long-term (1-6 months): 200-300 psi
-
Extended storage (6+ months): 200 psi (but inspect every 3 months)
Never store a tank with less than 50 psi, as this is effectively the same as storing it empty—moisture can still seep in, especially in humid climates (above 60% relative humidity).
How to Maintain Proper Storage Pressure
After a dive, don’t fully drain the tank—leave at least 200 psi before storing. If you accidentally emptied it, use a compressor to add back 200-300 psi before putting it away. For tanks that won’t be used for more than 3 months, check the pressure every 30 days to ensure it hasn’t dropped below 150 psi. A slow leak (even 1 psi per day) indicates a faulty valve or O-ring, which should be fixed immediately to avoid contamination.
Avoid topping off stored tanks to full pressure (3000+ psi)—this increases stress on the metal and provides no additional protection. The 200-500 psi range is ideal because it balances contaminant exclusion with minimal material fatigue.
What Happens If You Store a Tank Empty?
-
Corrosion begins within 30 days in humid environments, forming rust spots that weaken the tank walls.
-
Valve seals dry out, increasing the risk of leaks during future fills.
-
Dust and debris accumulate, requiring professional cleaning (120 per service) before safe use.
-
Hydrostatic test failure rates jump by 40%, meaning more frequent (and costly) inspections.
Long-Term Benefits of Proper Pressure Storage
Tanks stored with residual pressure last 5-7 years longer than those left empty, saving divers 600 in replacement costs. Dive shops that enforce this practice see 20% fewer tank failures during inspections, reducing downtime and maintenance expenses. For recreational divers, it’s a simple habit that ensures safer fills and better performance on every dive.
Cover Valve Openings
Studies show that uncovered valves account for 65% of preventable tank corrosion cases, with saltwater environments accelerating damage 4x faster than freshwater. Even tiny particles as small as 0.05mm can lodge in valve threads, leading to leaks that cost 150 to repair. A single grain of sand trapped in an O-ring groove can cause a slow pressure loss of 1-2 psi per hour, ruining a fill before your next dive. Dive shops report that 30% of tank failures during inspections stem from debris entering uncovered valves, which could have been avoided with a $2 plastic cap.
Why Valve Protection is Non-Negotiable
Tests show that unprotected valves in coastal areas develop visible corrosion within 3 months, while covered valves remain clean for 2+ years.
There are two main types of valve covers:
-
Threaded plastic caps – The gold standard, these screw on tightly and block 99% of particles. Cost: 5 each.
-
Rubber dust plugs – Cheaper (under $1) but less secure, allowing 10-15% of fine debris to enter over time.
Never use tape or makeshift covers—they leave adhesive residue that attracts dirt and can damage threads during removal.
How to Properly Use Valve Covers
-
Install immediately after disconnecting the regulator – Even 5 minutes of exposure in a dusty boat or garage can let in harmful particles.
-
Check for cracks monthly – UV exposure weakens plastic caps, reducing their lifespan to 12-18 months in sunny climates.
-
Rinse before storing – If caps were exposed to saltwater, rinse them under fresh water to prevent salt creep into the threads.
For tanks in long-term storage, combine valve covers with 200-500 psi of residual pressure to create a double barrier against contamination.
Real-World Consequences of Unprotected Valves
-
A single grain of sand can score valve threads, requiring a 120 valve rebuild.
-
Salt accumulation increases the odds of a stuck valve by 40%, risking dive aborts.
-
Corroded O-rings leak at 5-10 psi per day, wasting expensive fills.
Dive centers that enforce valve cover policies reduce their annual tank maintenance costs by 25%—saving $3,000+ per year for a mid-sized operation. Recreational divers who adopt this habit typically get 3-5 more years out of their tanks before needing replacements.
The Bottom Line
Protecting your valve takes 3 seconds and costs less than a coffee, but prevents hundreds in repairs. It’s the simplest way to ensure smooth fills, reliable dives, and maximum tank lifespan. Whether you’re storing gear for a week or a year, that little plastic cap is the cheapest insurance policy your scuba tank will ever have.
Avoid Extreme Temperatures
When left in a car trunk on a summer day, tank interiors can reach 140°F (60°C), weakening aluminum alloys by up to 15% after just 50 exposure cycles. Conversely, freezing temperatures below 20°F (-7°C) make steel tanks 3x more prone to cracking under pressure. The danger isn’t just theoretical: Dive shops report 12% more hydro test failures for tanks stored in garages versus climate-controlled rooms. A single overheating incident can reduce a tank’s service life from 20 years to 12, while repeated freeze-thaw cycles accelerate corrosion rates by 40%. With new aluminum tanks costing 600, proper temperature management is one of the cheapest ways to protect your investment.
How Heat and Cold Damage Tanks
High temperatures (above 120°F/49°C) cause two major problems:
-
Metal fatigue – Aluminum loses 5-8% of its tensile strength for every 18°F (10°C) above room temperature, increasing the risk of bulges or ruptures during fills.
-
Pressure spikes – For every 1°F rise, air pressure inside a full tank increases by 0.3 psi. A tank filled to 3000 psi at 70°F will hit 3300+ psi if left in a 120°F car—potentially exceeding safety margins.
Cold temperatures (below 32°F/0°C) create different risks:
-
Steel becomes 20% more brittle, raising the chance of cracks during handling or pressure changes.
-
O-rings and valve seals harden, increasing leak rates by 1-2 psi per hour until warmed up.
Ideal Storage Conditions
The sweet spot for tank longevity is:
-
Temperature: 50-80°F (10-27°C)
-
Humidity: Below 60% RH
-
No direct sunlight (UV degrades paint and labels)
Even a few hours at 130°F (54°C) can start permanent damage. For cold storage, gradually warm tanks to 50°F+ before filling to prevent thermal shock.
Real-World Impact of Temperature Abuse
-
A steel tank left in a -10°F (-23°C) warehouse failed hydro testing due to microcracks—a $400 loss.
-
Dive boats storing tanks in unshaded racks see 30% more paint peeling and 2x faster valve corrosion.
-
Clubs keeping tanks in climate control report 60% fewer hydro test failures over 10 years.
Emergency Measures for Exposed Tanks
If a tank overheats:
-
Don’t use it immediately – Let it cool to ambient temperature for 24 hours.
-
Check for bulges – Use a straightedge; deviations over 1/16 inch (1.5mm) require inspection.
-
Test pressure retention – A healthy tank holds 3000 psi for 48 hours with <5% drop.
For frozen tanks:
-
Thaw slowly (no heaters!) to avoid condensation inside.
-
Inspect valves – Brittle O-rings may need replacement (30).
Long-Term Savings
Proper temperature control:
-
Extends aluminum tank life from 15 to 25 years
-
Reduces hydro test failures by 50% (100 savings per test)
-
Cuts valve maintenance costs by 35% annually
It takes zero extra effort—just not leaving gear in extreme environments. Your tanks will reward you with decades of safe, reliable service.

Dejar un comentario
Todos los comentarios se revisan antes de su publicación.
Este sitio está protegido por hCaptcha y se aplican la Política de privacidad de hCaptcha y los Términos del servicio.