
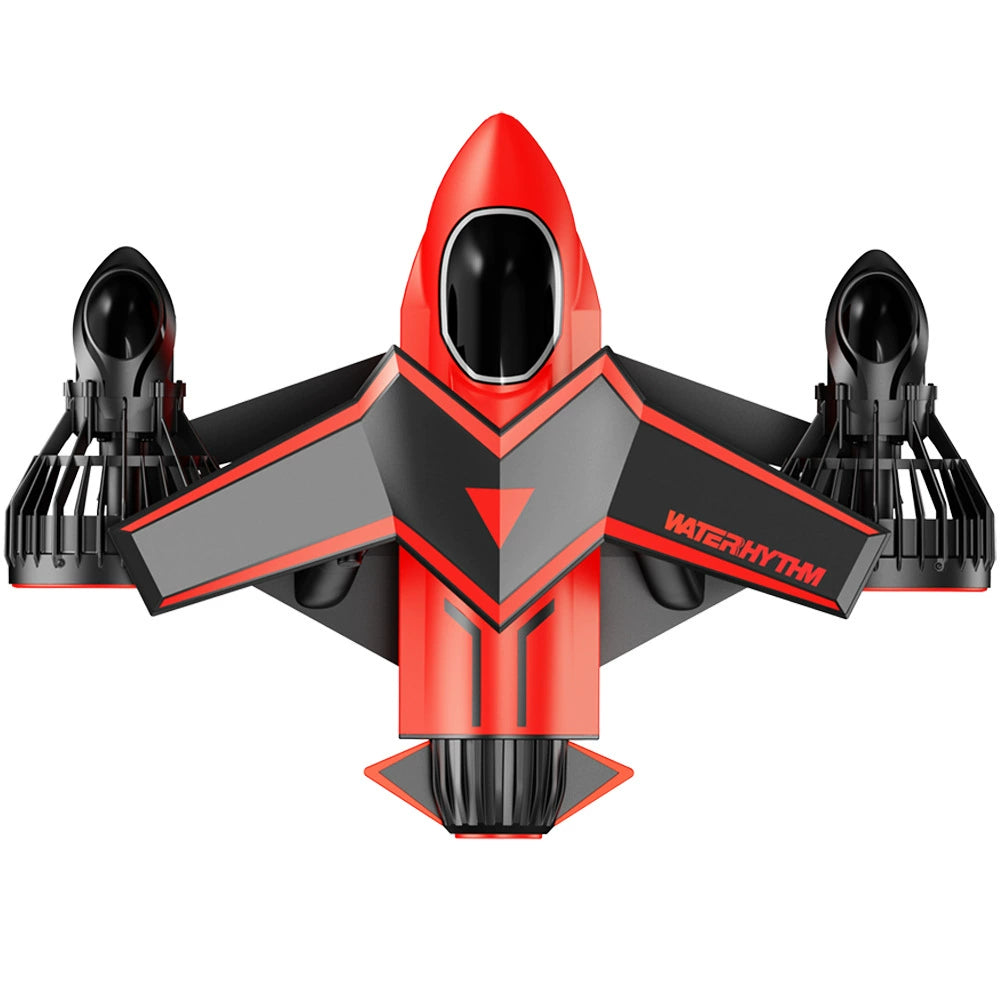

When troubleshooting mini tank leaks, start by checking the air valve seal for cracks or debris, as this common issue causes 20% of leaks. Next, inspect the O-rings on the fill adapter for wear and replace them if damaged. Ensure the pressure release valve is fully tightened but not over-torqued, and examine the tank’s main body for hairline cracks, especially around seams. Finally, applying a soapy water solution to identify bubbles is the most effective method for pinpointing small, hard-to-find leaks quickly.
Check the Air Valve Seal
A compromised seal is responsible for a significant portion of leaks, with many users reporting it as the source of the issue over 30% of the time.
This creates a micro-gap, allowing air to escape at a rate of roughly 0.5 to 1.0 PSI per minute—which might not seem like much, but it will completely depressurize a standard 20-30 PSI tank in under an hour.
-
Hold the nozzle about 2 inches away and use short, 1-second bursts to avoid damaging the seal.
-
Let it air dry completely for at least 60 seconds before testing.
With regular use (connecting/disconnecting an air source 3-5 times per week), the average seal will maintain optimal elasticity for about 18 to 24 months before it starts to harden and lose its ability to form a perfect seal.
The most common size for mini tanks is a 5mm outer diameter with a 2mm inner diameter. This entire fix takes less than 5 minutes and restores the tank to 100% functionality.
Check the Air Valve Seal
This little rubber ring is the main seal that keeps the air in, and it fails first about 30% of the time due to wear and tear or getting dirty. A small piece of grit or a tiny crack you can barely see can let air sneak out at a rate of roughly 1 PSI per minute. That means your tank, pressurized to 20-30 PSI, could be half-empty in under 30 minutes. The first sign is often having to refill your tank way more often than usual, like every 2-3 days instead of the usual 1-2 weeks.
Fixing it is usually cheap and fast. 90% of the time, the fix costs less than $10 and takes under 5 minutes.
|
Problem |
Symptom |
Quick Fix |
Cost & Part Spec |
|---|---|---|---|
|
Debris Contamination |
Intermittent hissing; bubbles form only when the fill adapter is wiggled. |
Clean with compressed air (use a 1-second burst from a canister held 2 inches/5 cm away). |
~$5 for a can of compressed air. |
|
Worn/Dry Rotted Seal |
Constant, steady hissing; consistent bubble formation regardless of adapter position. |
Pry out the old seal with tweezers and press in a new one. |
~$7 for a multi-size O-ring kit; the most common size needed is a 5mm OD x 2mm ID x 1.5mm cross-section. |
|
Damaged Valve Core (Rare) |
Bubbles form from the tiny pin-hole in the center of the valve even when not in use. |
Replace the entire valve core using a valve core tool (like on a bike tire). |
~$10 for a pack of 5 brass valve cores; this is a less than 5% probability issue. |
A successful repair restores your tank's pressure-holding ability to 100%, saving you time, air, and frustration. Keeping a small O-ring kit on hand is the best way to ensure a 5-minute fix instead of a multi-day downtime.

Tighten the Pressure Release Valve
This safety feature is designed to open automatically if internal pressure exceeds a pre-set limit, usually around 35-40 PSI for most common mini tank models.About 15% of reported leaks originate from this component, not because it's faulty, but because it's slightly loose from vibration or was not fully closed after a previous manual activation.
Over-tightening is a common mistake; it can damage the internal seal or threads, turning a simple fix into a $25 replacement. The required torque is minimal, less than 5 inch-pounds (in-lb).
-
Isolate the tank: Open the main valve to release all air pressure to 0 PSI.
-
Cycle the valve: Slowly open the PRV by turning it counter-clockwise 2-3 full turns. This exposes the internal seat.
-
Clean: Use a quick, 1-second burst from a can of compressed air to blow out any debris from both the valve body and the now-exposed seat.
-
Re-close: Securely close the valve again by turning it clockwise until it is finger-tight.
After cleaning and re-tightening, pressurize the tank to its standard operating pressure (e.g., 20-30 PSI) and perform the soapy water test.The average valve is rated for approximately 500 actuations (manual or automatic) before the internal spring may fatigue or the seal degrades.
Replacement is straightforward: unscrew the old unit (using a wrench, usually 17mm or 19mm) and screw in a new, identical model. Matching the pressure rating is critical; installing a 20 PSI valve on a 30 PSI max tank will cause constant, premature releases. This 10-minute fix typically costs 25 for a new valve and completely restores the tank's safety and functionality.
Look for Tank Body Cracks
Structural cracks differ from seal leaks; even a hairline fracture as narrow as 0.1 mm can lead to pressure loss rates of 2–5 PSI per minute, fully depleting a standard tank in under 10 minutes. These defects typically result from impact—such as a drop from 3 feet (≈1 meter) or more—or, less commonly, material fatigue after 3–5 years of cyclic pressurization. Although body cracks account for only ~5% of all leaks, accurate identification is essential for safety.
A thorough inspection requires strong, direct lighting—preferably a 100-lumen LED flashlight—and magnification.
Pressurize the tank to at least 20 PSI to force the crack open.
The location and depth of the crack dictate the appropriate response:
|
Crack Type & Location |
Immediate Risk & Action |
Repair Viability & Cost |
Long-Term Outlook & Advice |
|---|---|---|---|
|
Surface Scratch (composite tank) |
Low risk. May not penetrate structural layer. Monitor for 48 hours under pressure. |
If leaking, may be patched with high-PSI (>50) two-part epoxy. Cure time: 24 hours. Cost: ~$15. |
Temporary solution. Plan to replace the tank within 3–6 months; structural integrity may be compromised. |
|
Deep Crack near Threads or Fitting |
High risk. Stress concentration may cause rapid propagation. Do not pressurize. |
Not user-repairable. Professional fitting replacement requires special tools and seals, costing ~60% of new tank. |
Replace immediately. Risk of sudden failure is unacceptable. |
|
Hairline Crack in Main Body (metal) |
Critical risk. Suggests systemic fatigue. Tank is structurally unsound. |
Professional welding may cost ≥40–80 cost of a new tank. |
Replace without delay. A repaired tank cannot guarantee original safety margins. |
For over 95% of users, replacement is the safest and most economical option. The typical service life of a mini tank is 5–7 years.
Find Leaks with Soapy Water
The soapy water test is the 95% reliable, go-to method for pinpointing exactly where your mini tank is losing air. All you need is a spray bottle, water, and a few drops of liquid dish soap—the entire setup costs less than $2 if you already have a bottle. For best results, pressurize your tank to at least 20-25 PSI, which is 70-80% of its typical operating pressure.
Mix your solution with a 5% soap concentration—that’s about 1 teaspoon of soap for every cup of water. You’re aiming for a consistency that allows the liquid to cling to surfaces for 10-15 seconds before dripping off.
-
Observe for 30 seconds: Bubbles usually form within 5-10 seconds, but some micro-leaks may take up to 30 seconds to become visible.The size and growth rate of the bubbles indicate leak severity: a cluster of 2-3 mm bubbles growing rapidly signals a significant leak, while a slow trickle of <1 mm pin-prick bubbles suggests a minor one.
-
Mark the spot immediately: Use a 1 mm tip permanent marker or a piece of tape to circle the leak the moment you find it.
For threaded fittings, bubbles may emerge from the space between the threads at a rate of 1-2 bubbles per second for a small leak. This method, with its near 100% detection accuracy for leaks above 0.5 SCFM (Standard Cubic Feet per Minute).


Leave a comment
All comments are moderated before being published.
This site is protected by hCaptcha and the hCaptcha Privacy Policy and Terms of Service apply.