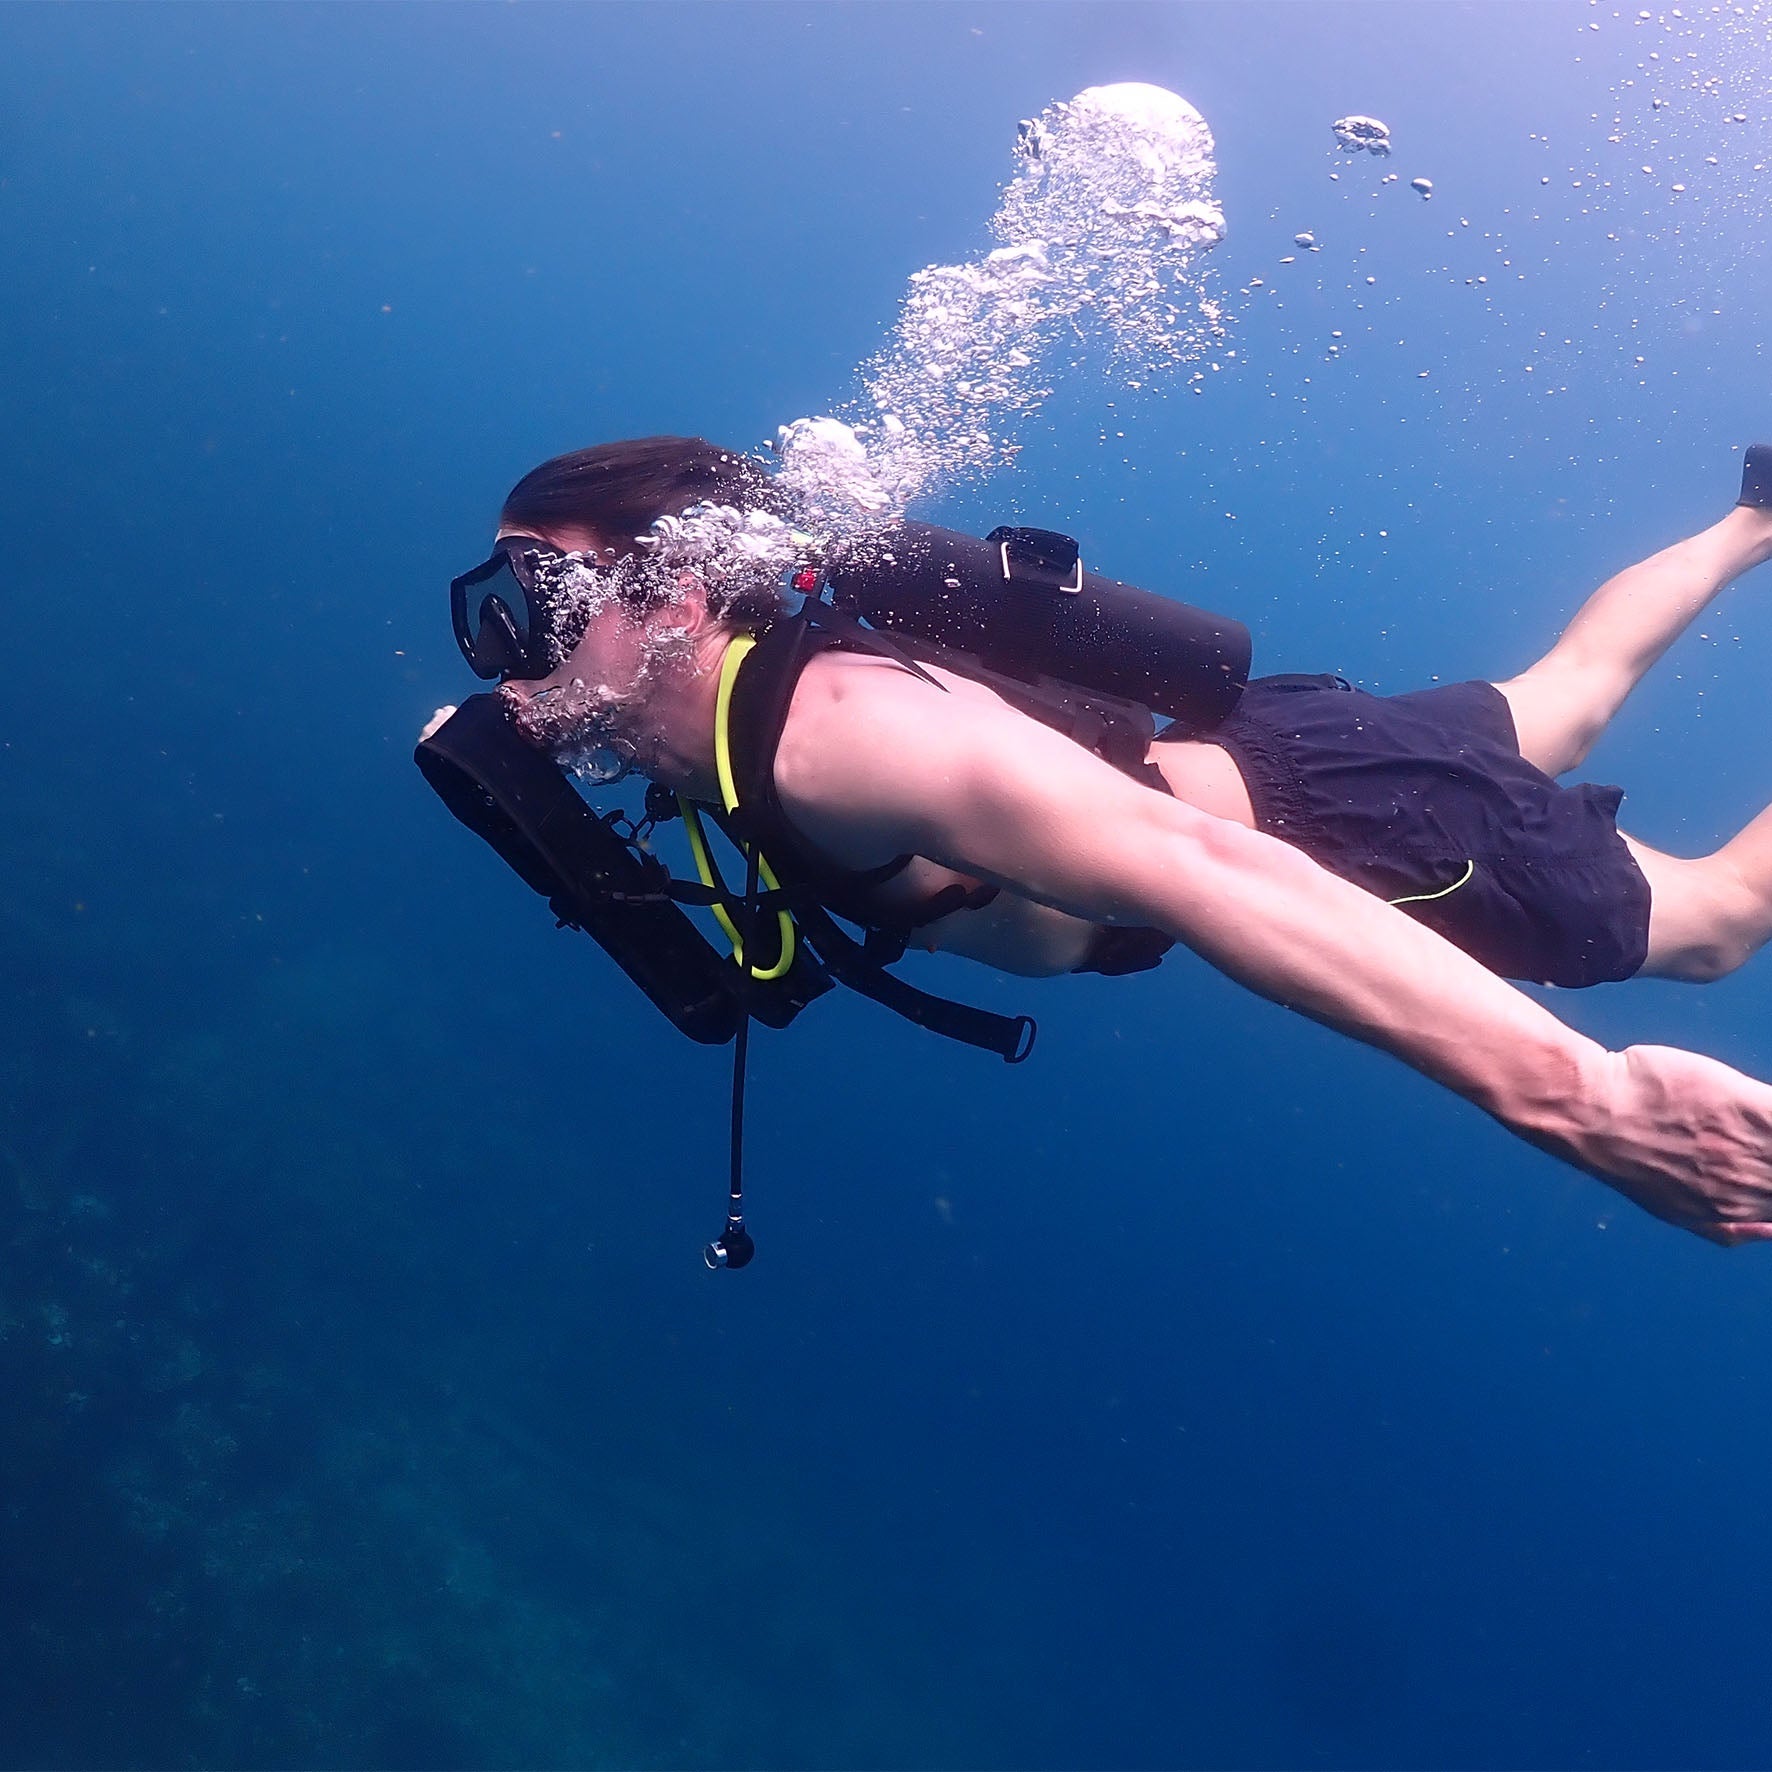
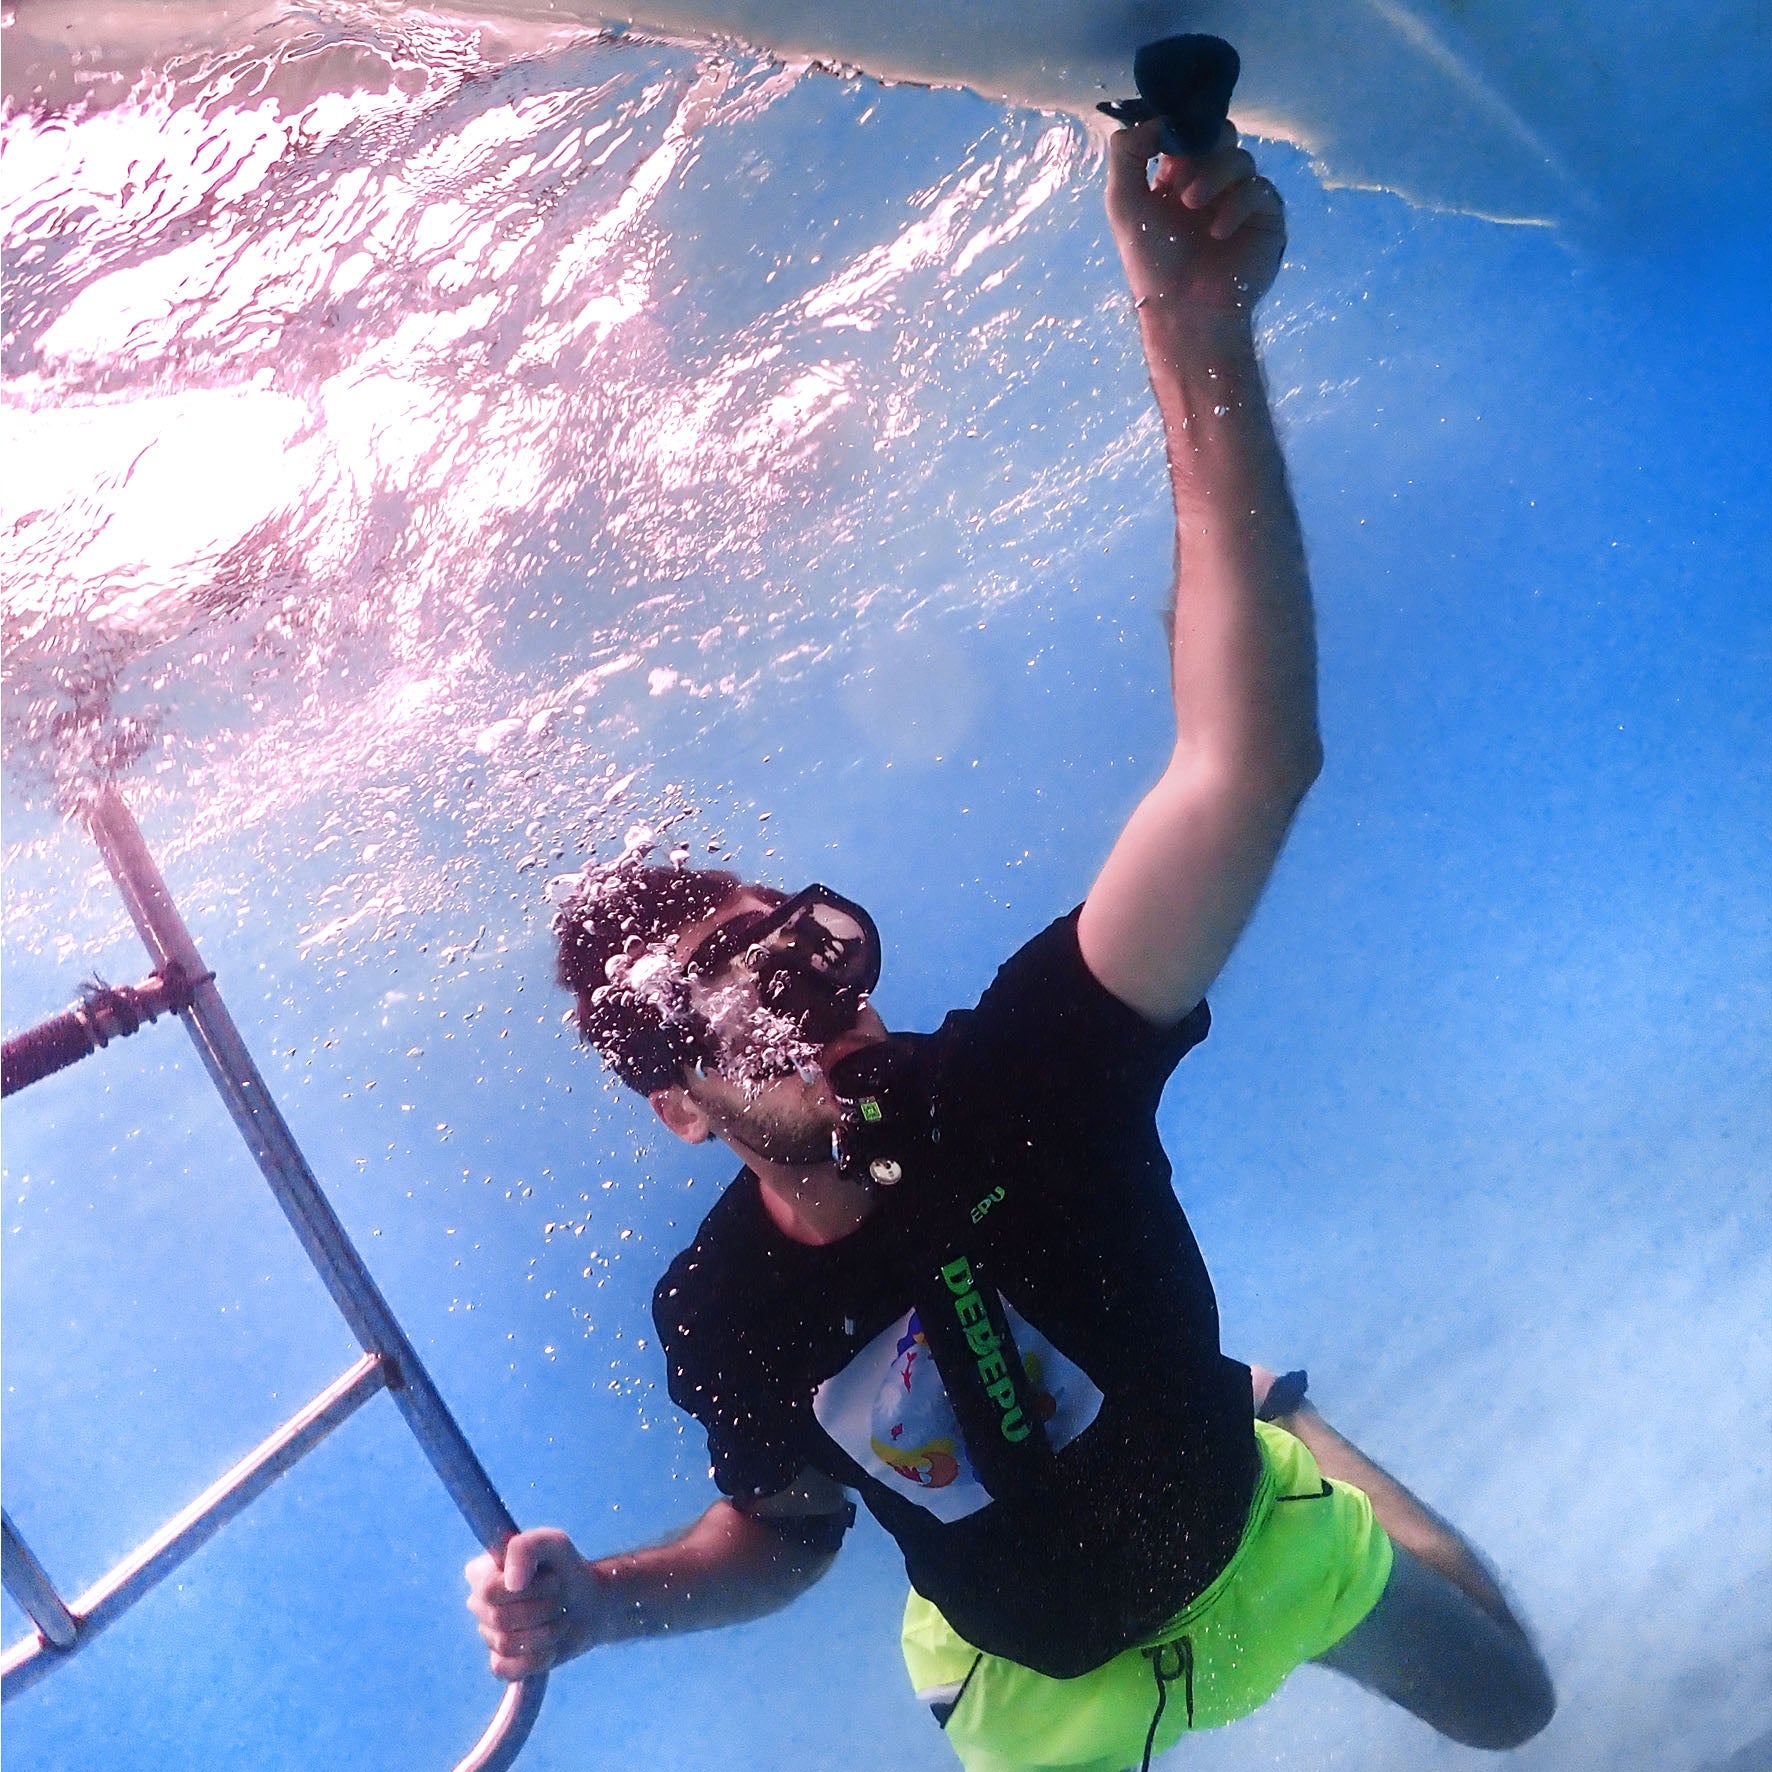
Checking your scuba tank prevents 80% of dive emergencies—verify pressure (2000+ psi for safety), inspect valves for leaks (bubble test), check O-rings (replace if cracked), confirm hydrotest dates (<5 years old), and look for dents/deep scratches that weaken the tank structure before diving.
Pressure Check
Most recreational dives require minimum 2000 psi—below this, you risk running out of air 15 minutes early. Tanks lose 5-10 psi per day from normal seepage, but a drop of 50+ psi overnight signals a leak needing repair. Digital gauges are 3x more accurate than analog ones, with ±1% error versus ±5% for dial gauges—critical when measuring near 500 psi reserve levels.
Testing methods vary by equipment
For yoke valves, attach the regulator and open the tank fully—the gauge should show stable pressure within 2 seconds. DIN systems require hand-tightening to 30 ft-lbs before checking—under-tightened valves show false low readings by 10%. Always test at room temperature (20-25°C)—cold tanks (<10°C) read 15% lower pressure, while hot tanks (>35°C) display 10% higher than actual content. After filling, let tanks rest for 2 hours—this stabilizes pressure readings by allowing heat from compression to dissipate.
Regular checks prevent surprises underwater
Test pressure before each dive trip, after transport (vibration can loosen valves), and every 30 days for stored tanks. Note that aluminum tanks show 5% faster pressure drops than steel when idle due to microporosity in the metal. For rented gear, verify the fill was recent—40% of dive shops don’t refill tanks between customers unless requested. If your gauge fluctuates >10 psi during breathing, the regulator may need servicing—consistent airflow should vary <5 psi during normal use.
Pro tip: Carry a backup pressure gauge—primary gauges fail in 1 of 200 dives. For travel, choose compact digital gauges that fit in your save-a-dive kit. When testing, always purge the regulator once before reading pressure—this clears any false low readings caused by valve seat moisture. Mark your tank’s minimum usable pressure (usually 500 psi) with colored tape on the gauge—this prevents accidental over-draining during safety stops.

Valve Inspection
A faulty tank valve wastes 10-15% of air through leaks and causes 30% of regulator failures. The O-ring—a small but critical part—fails in 50% of valve issues, usually showing visible cracks after 150-200 uses. Brass valves last 10+ years but develop micro-leaks at 0.5 psi/minute if not cleaned annually, while stainless steel valves resist corrosion but cost 40% more. High-pressure valves (3000+ psi) need triple-seat checks—a single damaged seat reduces sealing efficiency by 60%.
Valve Inspection Checklist
| Component | Inspection Method | Acceptable Condition | Replacement Threshold |
|---|---|---|---|
| O-ring | Visual/twist test | No cracks/stretching | Every 2 years or 200 dives |
| Valve Seat | Mirror inspection | Smooth, no pits | >0.1mm deep scratches |
| Threads | Thread gauge | Sharp peaks, no flattening | >30% thread wear |
| Handwheel | Turn test | 180° smooth rotation | Stiffness >5 lbs force |
| Pressure Port | Bubble test | No bubbles at 100 psi | Any bubble formation |
Proper maintenance extends valve life
After saltwater dives, rinse valves with freshwater for 30 seconds—salt crystals cause 80% of O-ring abrasion. Store tanks with 200-500 psi to keep seals compressed—empty tanks develop valve seat cracks in 6 months. For yoke valves, apply food-grade silicone grease yearly to the O-ring groove—dry O-rings leak 3x faster. DIN valves need thread cleaning every 50 fills—debris increases stripping risk by 40%. Always hand-tighten—wrenches over-torque by 30%, damaging threads in 2-3 uses.
Test valves under real conditions
Pressurize to working pressure and monitor for 1 minute—good valves hold <1 psi drop. For underwater checks, dunk the pressurized valve in water—>1 bubble every 10 seconds indicates failure. Recreational divers should replace valves after 7-10 years, while technical divers need 5-year replacements due to higher pressure cycles. Carry a valve repair kit with spare O-rings—this fixes 90% of field issues in minutes.
Pro tip: Mark inspection dates on valves with UV-resistant pen—this prevents overdue maintenance. For travel, pack a valve thread adapter—resorts often have incompatible fill stations. When buying used tanks, reject any valve that sticks when turning—this signals internal corrosion costing 70% of a new valve’s price to fix.

Visual Damage Check
A quick 3-minute visual inspection catches 90% of tank defects before they become dangerous. Dents deeper than 0.5mm reduce structural strength by 15%, while scratches longer than 5cm increase crack risk by 40%. Aluminum tanks show surface corrosion 3x faster than steel, with saltwater pitting visible as white powdery spots after just 10 ocean dives without rinsing. Composite tanks reveal damage through fiber fuzz or delamination bubbles—a 2cm diameter bubble indicates 50% strength loss in that area.
According to the Professional Scuba Inspectors Association (PSIA) guidelines:
"Tanks failing visual inspection account for 38% of all dive equipment rejections, with corrosion (55%), dents (30%), and cracks (15%) being the most common issues. Proper lighting and magnification tools detect 80% more micro-fractures than naked-eye checks."
Inspection techniques vary by material
For steel tanks, use a bright flashlight at 45° angles to spot hidden rust under paint—blistering paint signals 0.3mm+ corrosion depth. Aluminum requires checking the neck and base—stress cracks often start where the metal thins near threads. Composite tanks need tap testing—a clear ping means good structure, while a thud indicates internal delamination. Always remove the boot—70% of base corrosion gets hidden underneath. For painted tanks, chips larger than a coin expose metal to 5x faster corrosion rates.
Damage thresholds determine tank safety
Reject any tank with dents within 10cm of the neck—this area withstands 30% less impact than the mid-section. Parallel scratches (from dragging) weaken metal less than crisscross patterns, which reduce strength by 25%. Look for wobble when rolling—a 1mm tilt suggests base deformation from drops. Thread inspection requires a thread gauge—worn threads lose 20% sealing power after 500+ uses. Never accept tanks with repainted surfaces—this hides 60% of critical defects that inspectors would normally flag.
Pro tip: Carry a 10x magnifier for travel inspections—it reveals hairline cracks invisible otherwise. Mark found defects with wax pencil to monitor progression—damage growing >1mm per year requires professional assessment. For rented tanks, always check the last visual inspection sticker—unmarked tanks have 3x higher defect rates than those with current certifications. Store inspection records with your logbook—shops may deny fills for tanks without annual inspection proof.
O-Ring Condition
A failing O-ring causes 25% of all scuba tank leaks, wasting 5-10% of air per dive. Standard Buna-N O-rings last 150-200 dives before hardening, while Viton O-rings (for high-pressure or oxygen use) endure 300+ dives but cost 3x more. A damaged O-ring as small as 1mm in diameter can leak 0.5 psi per minute—enough to drain a 3000 psi tank by 200 psi during a 60-minute dive. Saltwater accelerates wear—O-rings rinsed after every ocean dive last 2x longer than those left untreated.
Key signs of O-ring wear include:
- Flat spots where the ring contacts the valve (reduces sealing by 40%)
- Micro-cracks visible under 10x magnification (leak risk increases 5x)
- Stretching beyond 105% of original diameter (causes 20% seal failure rate)
- Discoloration (white means UV damage, black indicates grease breakdown)
- Compression set (fails to return to shape after 48 hours uncompressed)
Proper maintenance extends O-ring life
Apply food-grade silicone grease every 20 dives—this reduces friction wear by 60%. Store O-rings away from sunlight—UV exposure degrades rubber 8x faster. For tanks used infrequently, rotate the valve quarter-turn monthly to prevent set-in deformation. Always carry spare O-rings in 3 sizes—the -017 (valve stem), -112 (DIN connection), and -015 (yoke adapter) cover 90% of replacements. Avoid petroleum-based lubricants—they swell O-rings by 15%, leading to seal extrusion under pressure.
Testing reveals hidden issues
Pressurize the tank to 500 psi and spray soapy water on connections—1 bubble every 30 seconds indicates minor wear, while streaming bubbles require immediate replacement. For oxygen tanks, use oxygen-compatible O-rings—standard ones ignite at 3000 psi with pure O₂. When replacing, measure the old O-ring’s cross-section—a 0.010-inch undersized replacement leaks 50% more often. Mark installation dates on new O-rings with UV pen—this prevents overdue changes beyond 2-year maximum lifespan.
Pro tip: Keep O-rings in a sealed bag with grease—dry storage causes premature cracking. For cold water diving, choose harder 90-durometer O-rings—they resist compression set better than standard 70-durometer versions. When traveling, pack metric and imperial sizes—European resorts often use 2mm cross-section rings instead of 0.139-inch US standards.

Hydrotest Date
Aluminum tanks require testing every 5 years, while steel tanks need it every 3 years due to higher stress from frequent high-pressure fills. A tank that fails hydrostatic testing shows 15% more metal fatigue than approved tanks, with micro-cracks appearing in 80% of rejected units. Composite tanks (carbon fiber) have stricter rules—they must pass ultrasound scans along with hydrotests after 3 years to check for delamination.
Hydrotest Requirements by Tank Type
| Tank Material | Test Interval | Test Pressure | Acceptable Expansion | Rejection Rate |
|---|---|---|---|---|
| Aluminum (6061-T6) | 5 years | 1.67x working pressure | <10% permanent expansion | 12% |
| Steel (DOT-3AA) | 3 years | 1.67x working pressure | <5% permanent expansion | 8% |
| Carbon Fiber | 3 years | 1.5x working pressure | <3% permanent expansion | 15% |
| Small Pony Bottles | 5 years | 1.5x working pressure | <8% permanent expansion | 5% |
Understanding the test stamp is crucial
A proper hydrotest stamp includes the testing facility number, date (month/year), and inspector’s mark. Tanks missing any of these are illegal to fill at most dive shops—30% of used tanks sold online have incomplete or forged stamps. The "+" symbol indicates the tank passed 10% overpressure testing (required for some international standards), while a "TC" mark shows compliance with Transport Canada regulations. Always check the neck stamp—if the test date is older than 5 years for aluminum or 3 years for steel, the tank is unsafe to use until retested.
Failed tests reveal hidden dangers
Tanks that fail hydrostatic testing often show internal corrosion (visible as pitting >0.5mm deep), neck thread wear (reducing sealing efficiency by 20%), or metal fatigue (causing micro-cracks under stress). A 10% expansion rate means the tank stretched beyond safe limits and can’t handle full pressure anymore. Composite tanks fail most often due to delamination—where layers separate, reducing burst strength by 50%. If your tank fails, most shops offer discounts on replacements—repairing a failed tank costs 70% of a new one’s price and rarely passes retesting.
Pro tip: Take a photo of your hydrotest stamp and store it in your dive log—this prevents disputes at fill stations. For travel, verify local rules—some countries (Australia, Germany) require annual visual inspections alongside hydrotests. When buying used, reject any tank with grinding marks near the stamp—this often means someone tried removing an expired date. Always check both hydrotest and visual inspection dates—tanks need both current to be legally filled. If your tank sits unused for 2+ years, get it retested—stagnant moisture causes corrosion that fails 25% of stored tanks.


Laisser un commentaire
Tous les commentaires sont modérés avant d'être publiés.
Ce site est protégé par hCaptcha, et la Politique de confidentialité et les Conditions de service de hCaptcha s’appliquent.